If you want to create your own t-shirts with your own designs, you can now do this from home. Whether you want to make them for your own use or make them to sell to other people, heat presses are a quick and easy way to add logos to t-shirts, sweatshirts and other clothing.
If you want to transfer designs and logos to clothing, you will need special heat transfer paper. This paper is designed to be used at the high temperatures needed with a heat press, and the right transfer paper will give you a long-lasting and clear image on your t-shirt.
Using a heat press to print your designs is a lot less expensive than paying a printing company to do this for you – and of course, you get the finished product a lot quicker too.
What Is a Heat Press?
In the past, people have used a simple iron on heat transfers on to t-shirts. The process of how to make heat press transfers is very similar to this, but a heat press will produce even pressure on the transfer paper to create an image which is clearer, longer lasting and it takes a lot less effort as well.
Heat presses have two plates, one of which is cool and one is heated to a very high temperature. When the two plates are pressed together, the image on the heat transfer paper is transferred to the t-shirt and the heat is distributed evenly. When you use an iron, it takes a lot of effort to hold the iron down and it’s very difficult to make sure the heat is spread evenly over the whole transfer.
Using a heat press, you need to simply set the time, set the temperature, close the lid and wait. The press does all the hard work for you. All you have to do to create great looking t-shirts, is find out how to make heat press designs and how to apply them. It’s not as hard as it sounds, so let’s look at each step.
What You Need To Create Your Transfer
When you create a transfer to be used with a heat press, you need minimal equipment, and most households will already have what’s needed.
- Heat presses use special heat transfer paper, which you can purchase from craft stores or online.
- If you have a computer you can use this for editing and printing your images. You don’t need a high specification, and you can also use a tablet for this if you have one.
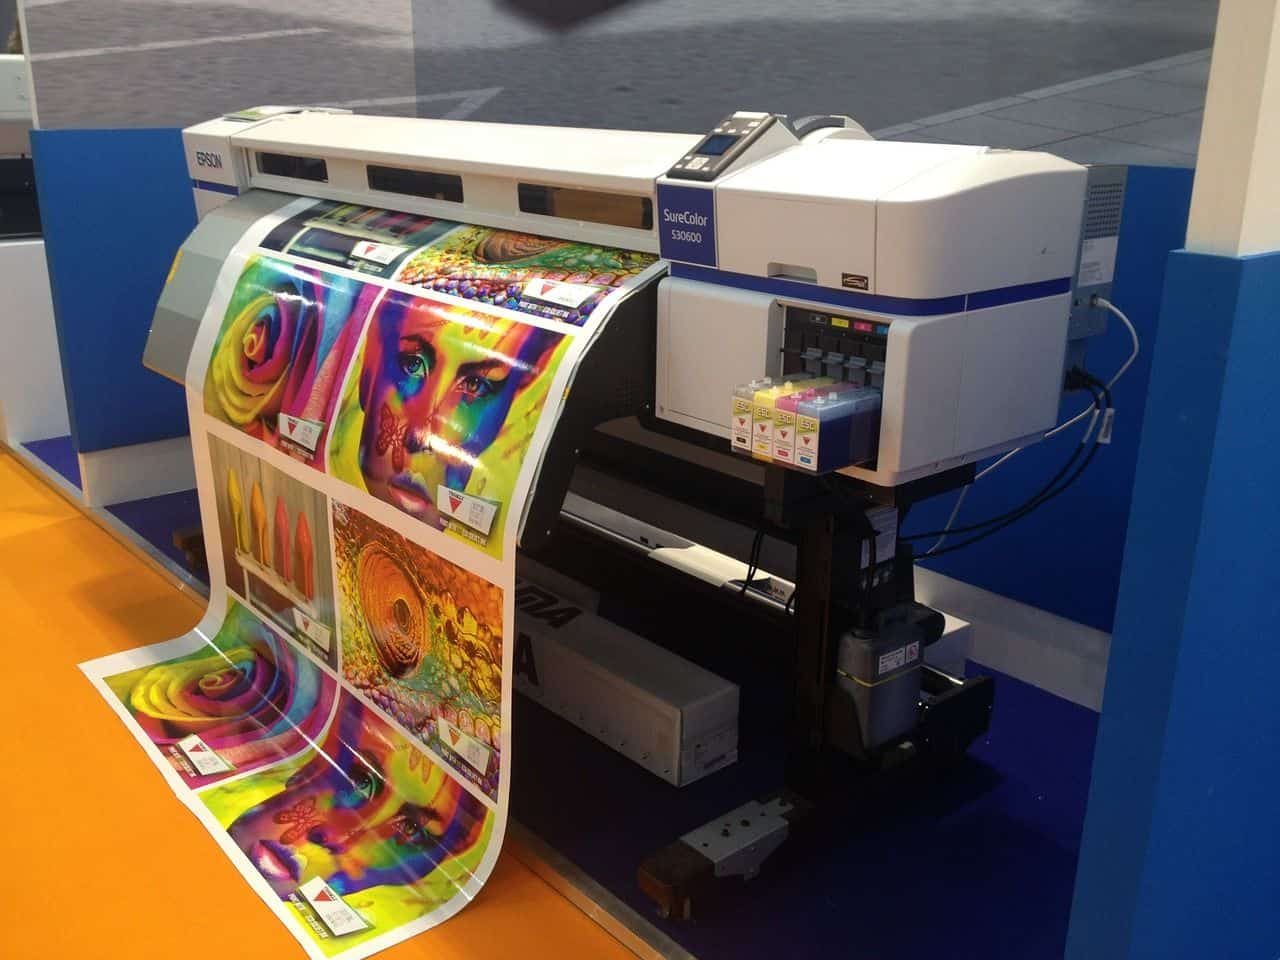
- Most inkjet printers are suitable for printing out your transfer and, again, you don’t need a high specification. If you have an inkjet printer at home, this will be perfectly suitable.
- If you want to edit your image, you will need image editing software. There are many packages available and you don’t need to save your image as any particular format.
How to make heat press transfers for t-shirts in 3 steps
Step 1
Choose the right heat transfer paper
This is one of the most important things you need to create the best image. If you get the wrong transfer paper, your image may not stick or may look dull and lifeless. If you have a local craft store, you may be able to get packs of this paper there. If not, then you will be sure to find what you need online. Some packs of heat transfer paper even include image software and a t-shirt for you to practice on.
Heat presses use high temperatures, so always check that the heat transfer paper can handle these extreme temperatures which can go up to 600 degrees Fahrenheit, and sometimes more. If you have your heat press, check the temperature you will need to use to create your t-shirts, so that you can match it to the right heat transfer paper. You also need to consider what you will be printing on to, as some transfer papers work better with colored fabrics.
When you work with heat transfer paper, you must remember that your heat press will press all areas on to your t-shirt – including any unprinted areas. For this reason you must use the right paper when making heat press transfers, depending on the color of your fabric.
Lighter colors
If you are printing on to a white t-shirt or a lighter colored fabric such as a pastel color or light grey, you should use transparent heat transfer paper, so that any area of the graphic which does not have any part of the design or color on it, will appear white when it is transferred.
How you prepare your printed transfer paper, will be described later on.
Darker colors
When using darker colored fabrics such as black, navy or deep colors, choose transfer paper which is designed to be used with darker fabrics. This type of heat transfer paper tends to be thicker than other paper, and it has a white backing. This backing means that if you are using any lighter colors in your design, they will show up clearly on the darker colored fabrics.
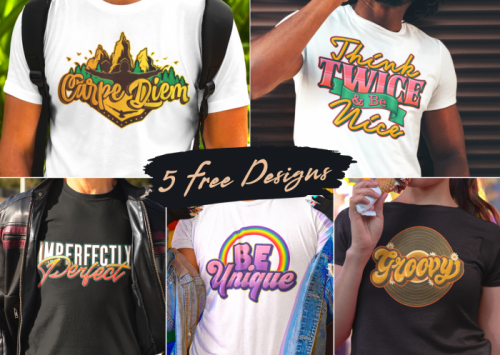
Free Gift: 5 Premium T-shirt designs from Tee.design
Step 2
Create your heat transfer image
There are a number of ways you can create your image, depending on whether or not you are able to draw your own design.
- If you are skilled enough, you can draw your own design, which you can then scan in to a computer. You can then use your image editing software to tidy it up and finish it off ready for printing.
- If you are not very good at sketching, you can create your graphic using any graphics package. Free software is available but you can also use packages such as CorelDraw and Photoshop, which provide you with many options for merging with other graphics to create your finished design.
- You can also scan or download images from the internet to use, or combine with your own ideas. This can be a very good way to get started but you must make sure you are not infringing any copyright if you reproduce the image. If you are planning to print t-shirt designs commercially, you should investigate how much it will cost for a licence to reproduce images if you are likely to use these regularly.
Your image editing software can also be used to shrink your design for children’s t-shirts or you can change the color to provide different options to your customers.
Step 3
Print your design
Need designs to print? Get 5 premium designs for free from Tee.design
Before you print onto your transfer paper, always print a test piece on to plain paper. This will show you exactly how your graphic will look and gives you the chance to edit it if you need to without wasting your transfer paper. When you test it, you just need to print it as you would normally print, but the higher the setting, the better the print will be.
Once you are happy with the design, you will need to select ‘mirror image’ or ‘invert image’ on your printer settings. This is because the transfer paper is laid face down on the t-shirt, so if you print the image the right way round, it will be printed back to front. This is particularly important if you have words or letters as part of your image.
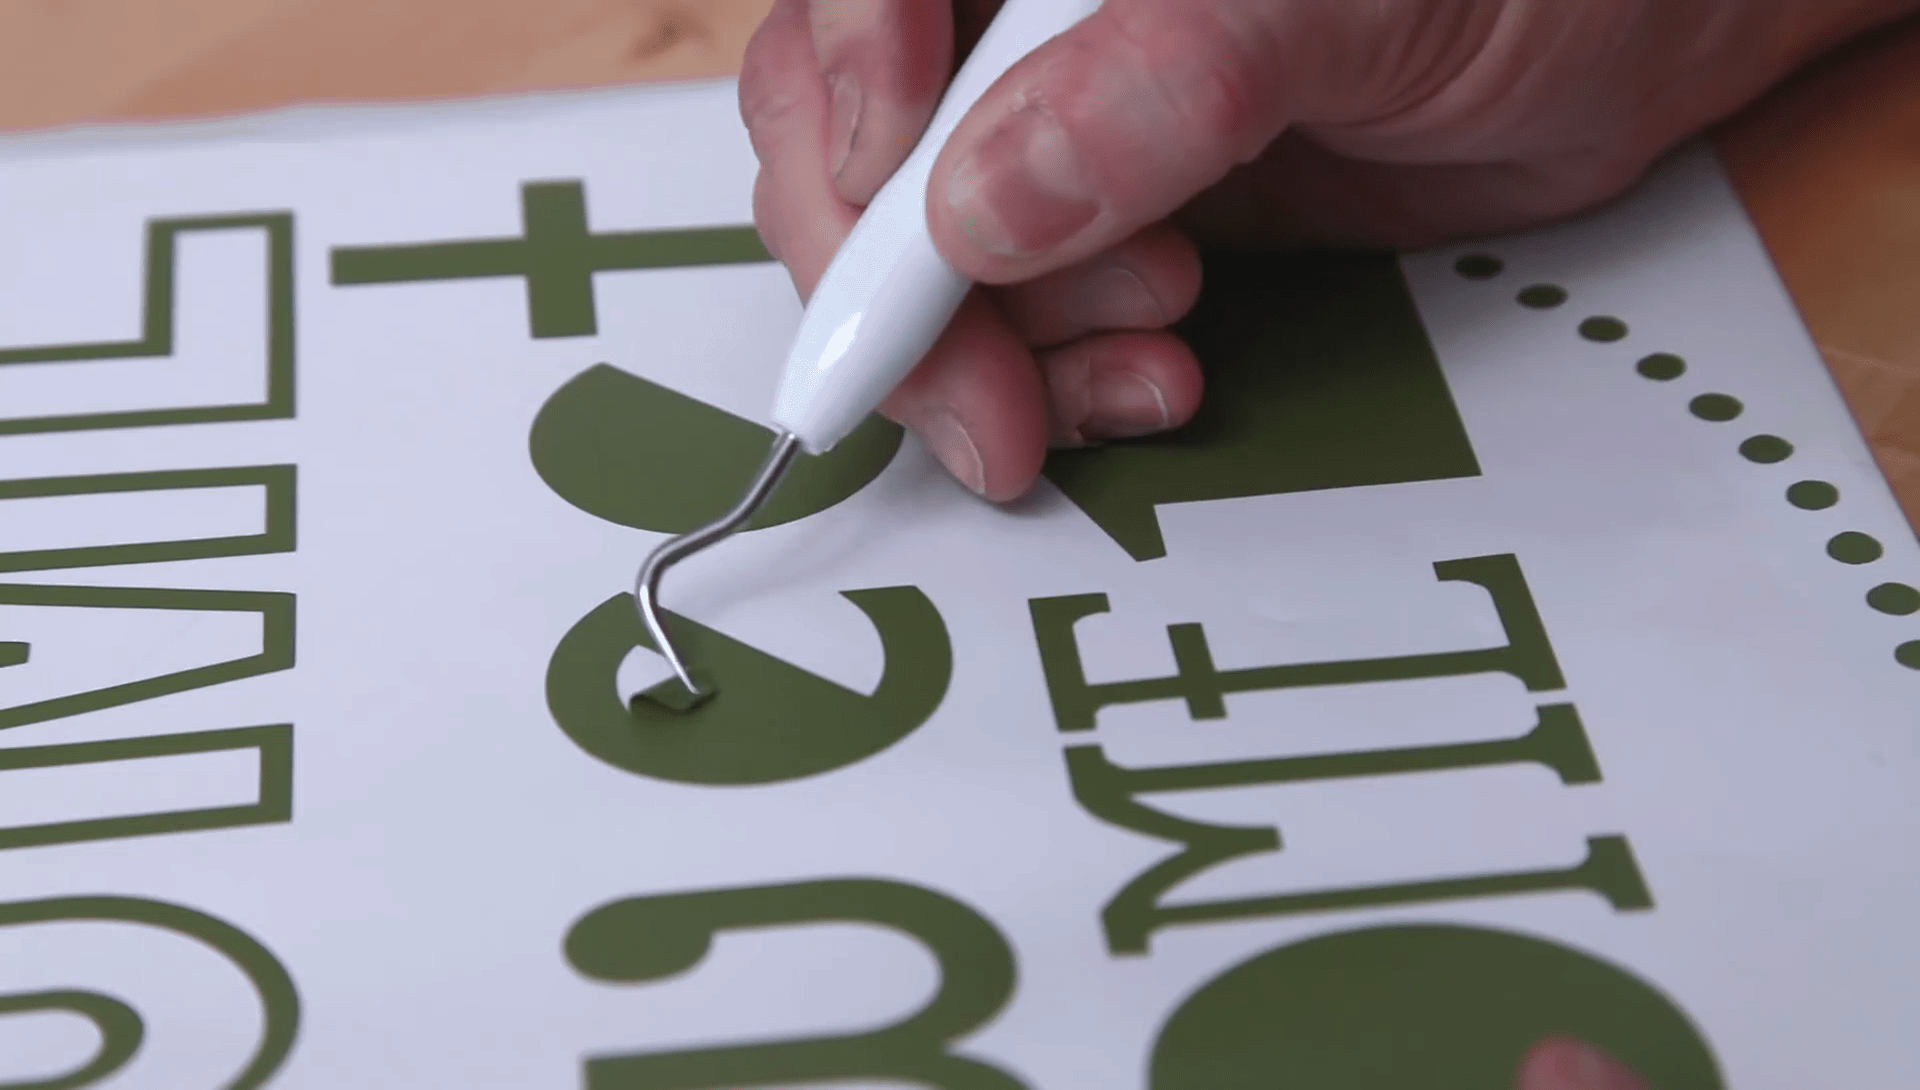
If your graphic is small, you can print several on to one sheet of transfer paper so you get to use as much of it as you can. When your image is printed, you will need to trim it around the edges to remove as much of the unprinted area around it as you can. The heat press will transfer everything on the heat transfer paper, so if you have a large border around it that will appear on the t-shirt too.
You don’t have to trim the image exactly, just enough so you don’t transfer too much of the unprinted paper on to your t-shirt. This gives you the opportunity to print several smaller images on to one piece of transfer paper.
When you have your finished heat transfer design, lay it on a t-shirt to see how it will line up. Sometimes an image will look slightly different against a t-shirt so hold your test print up as this will give you a better idea of the finished size. Moving it around will help you decide on the best place to print it.
Now you have your design ready, you simply need to know how to print heat press transfers. Before you begin, wash and dry all the t-shirts you will be using so as to remove any dirt. The smallest piece of dirt can make quite a difference to the finished image and the last thing you want is dirt creating gaps in your graphic. Press the t-shirts too so that you have a flat surface to press on to. You can also lay your t-shirt on your heated heat press and just press down for a few seconds to remove any creases.
With your t-shirts prepared, turn on your heat press. It can take up to 15 minutes to heat up, so have plenty of time to check that you have everything ready.
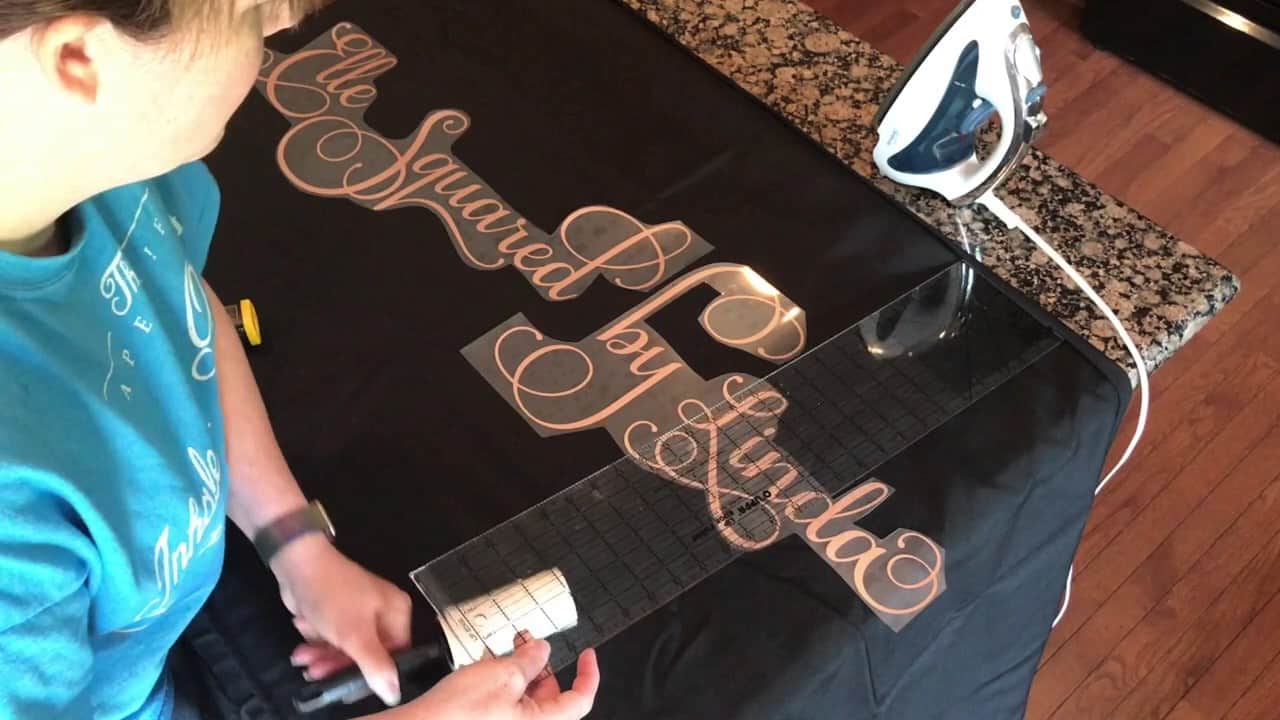
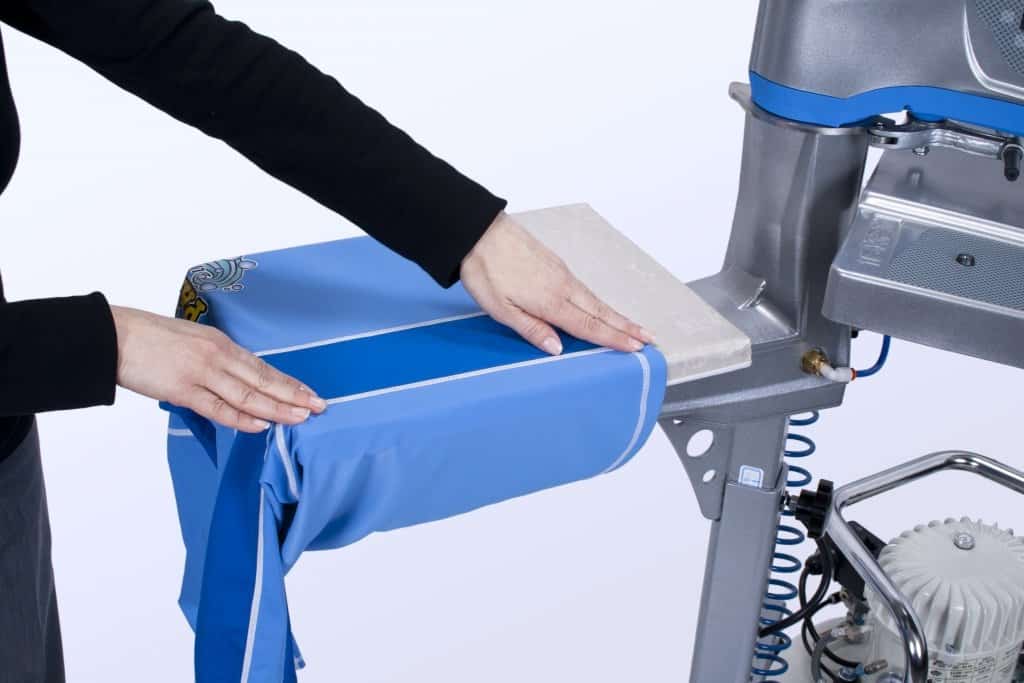
Your heat press machine will have instructions telling you the temperature to use and the time to allow, so set it correctly and when it is heated, carefully lay your t-shirt on to the lower platen. Depending on your type of heat press, you can also pull the t-shirt over the platen. Always keep all tags and seams well out of the way. Line up the transfer paper with your image on it and place it face down on the t-shirt. Make sure your graphic is perfectly aligned so that all t-shirts look the same. You can use a simple ruler to line up your transfer, or you can buy a T-Square It which takes a little longer to use but it will ensure that each graphic is perfectly aligned.
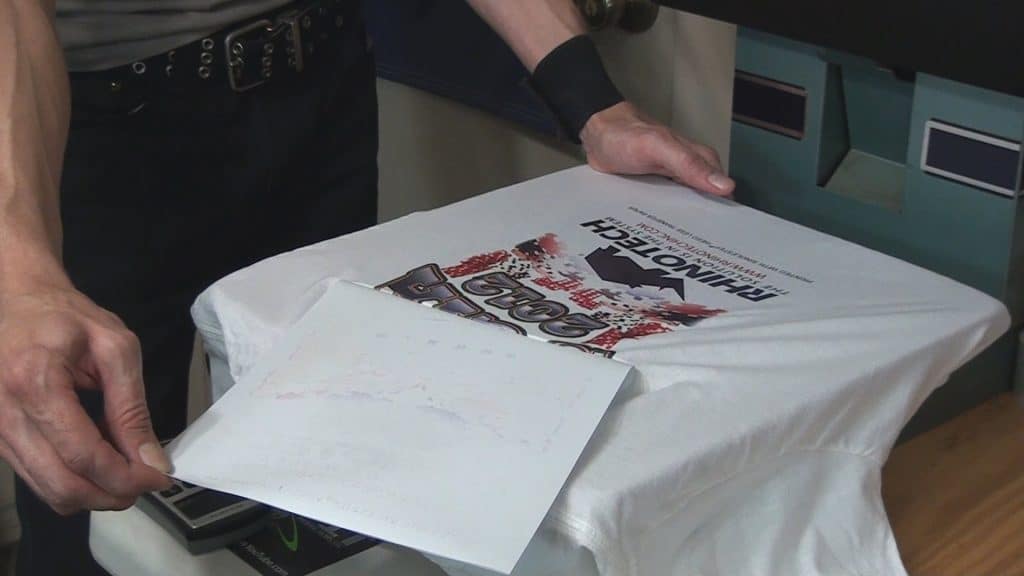
When you are sure everything is in place, you are ready to start pressing. Just close the lid, click the handle in to place and wait. Your heat press will let you know when the time is up and your transfer paper should then pull away smoothly if the graphic has transferred correctly. If you find it is pulling a bit, close the lid and give it a little longer.
Now you are confident with how to make heat transfer designs, you can use your heat press for t-shirts, sweatshirts, baseball caps and any other items of clothing which are able to withstand the temperature of the heat transfer process.
If you do still need help, this fantastic YouTube tutorial will definitely help you out.
And make sure to claim your 5 premium free designs from Tee.design here