A heat press can be used at home for creating personal gifts or for business purposes, creating your own designs on t-shirts, caps and so much more. Finding the right heat press for your designs and learning how to use a heat press isn’t that hard, as long as you remember to follow the instructions and guidelines you are given.
While heat presses differ in the way they operate, the basic functions are usually the same. Using a heat press and heat transfer paper you can create your own, original designs, and press them on to different materials.
Heat presses simply have two plates which press together at high temperatures, sealing your transfer on to the fabric. Before you learn how to use one, let’s first see how they work.

How a Heat Press Works
A heat press is a cheaper alternative to screen printing, and requires less space, so it is often a better option for smaller business or home use. It has two platens, the top one of which is heated. The item you want to press on to is placed on the bottom, cooler plate and the two are pressed together. The heat then transfers your design from the transfer paper to the fabric.
If you want to press on to mugs, you will need a press with round plates, but the process still works the same.
It’s important to note that not all materials can be used in a heat press, as not everything can cope with the high temperatures involved. One common mistake when you’re just starting out with a heat press, is to try out new materials without taking any precautions.
You do need to practice pressing, but if fabric melts on to the plates it can be very difficult to clean it off. Instead use a Teflon coated pad or some simple baking parchment so if you do have any accidents, your plates will stay nice and clean.
Types of Heat Press
As with all machinery, heat presses come in different types and sizes, depending on your requirements.
Clamshell Heat Press
As the name suggests, this type of heat press opens and closes like a clamshell. There is a hinge on one side and the heated top plate is raised. The item to be pressed is placed on the lower, cooler platen and the top plate is closed by pulling down a handle and clicking it in to place.
Advantages
- These heat presses tend to have a smaller design, so they are easier to move and easier to store.
- It is easy to use, so it is ideal for beginners.
- It can press large and small quantities.
- It is not too expensive so it is a good choice for anyone on a budget.
Disadvantages
- As the hinge controls how far the plates close together, it may not handle thicker items very well.
Swinger / Swing Away Heat Press
The swinger or swing away heat press has two plates which swing away from each other. The upper, heated plate swings away, allowing you to place your fabric on the lower, cooler plate. The top then swings back over to press your items and a handle is closed to press the plates together.
Advantages
- As the top swings away, you have more room to lay out your fabric without the fear of touching the heated plate.
- It can handle thicker items as well as thinner ones, as you have more control over the thickness.
- It is easy to operate so is suitable for beginners or those more experienced with heat presses.
- It provides even heat and consistent pressure over the whole fabric.
Disadvantages
- It takes up more room than a clamshell, as you need to allow more space to work around it and for the plate to swing out.
- It is less portable due to its size.
Draw Heat Press
The draw heat press has a similar design to the swinger heat press, but in this case the lower, cooler plate swings out, not the upper one.
Advantages
- As the lower plate swings out, you have more space to lay out your fabrics.
- There is less risk of touching the heated plate.
- It takes up little space and is portable.
Disadvantages
- It can be harder to place an item back on the press if a transfer doesn’t take.
Free Download: 5 premium T-shirt designs from Tee.design
Sublimation Heat Press
A sublimation heat press is a good choice for t-shirts, as you can print high quality digital designs. It has a larger area to work with and ensures that the dye is transferred to create s shaper, clearer design.
Advantages
- The larger plate makes it perfect for t-shirts, sweatshirts and other larger items.
- The transfer process gives cleaner images on t-shirts
Mug Heat Press
This is a smaller press, specifically designed for printing on to mugs. The shape is cylindrical and the mug is wrapped in the transfer.
All heat presses can be operated either manually or automatically and the one you choose is often down to your own personal preference. Before you start creating you designs, first check that the heat press you are buying can handle the items you want to create.
Set Up Your Heat Press
The first thing you need to do is set your heat press up, but don’t rush this and take the time to position it correctly.
- Heat presses can be heavy so finding the best position at the start will save you moving it later on. It will need a sturdy, flat surface so that it is secure and doesn’t wobble.
- When setting up any machinery it’s sometimes easy to forget that it needs to be placed near a socket. Make sure that your press is close to a socket but with plenty of room to move around it.
- Depending on the type of heat press you have, allow enough room to move around and operate it efficiently. You don’t want to be cramped for space when the machine is turned on.
- A heat press will get hot and will give off heat, so a room with a window is essential.
- Safety tip: Place it out of the reach of children.
Other Items To Consider
Now you have you heat press set up, you need to make sure you have all the other items you need.
Working Space
You will need room to lay out your transfers and fabrics so you can see how they will look before you press them. A simple worktable or desk is usually enough.
Materials
Before you buy anything to print on to, check the fabrics carefully, as some materials are not suitable for a heat press. Synthetic materials may crinkle under a high temperature, whereas fabrics such as cotton, nylon and polyester work much better. If you want to print bags, plastic will melt, but polypropylene will work at a lower temperature. Some suppliers will let you have a sample piece of fabric to test with, so it’s worth asking. Researching your fabrics can make a big difference to your finished product. The heat press should also have a guide which will tell you what you can and can’t print on.
Heat Transfer Paper
You will need heat transfer paper to press your design on to your fabric.
Heat transfer paper is a special paper which has a silicone release layer. This layer is designed so that you can print your design on to it with a printer and when heated it ‘melts’ and transfers the pattern on to the fabric. The paper usually has guidelines about times and temperatures to use.
When you print your design on to the transfer paper, it must be reversed using mirror image or print horizontal on your printer settings. Not all transfer paper is the same so you will need to research this and make sure you have the most appropriate for what you are using. Some companies may offer samples so you can check the results before you buy any.
![]()
Teflon Sheets
Some heat presses will come with a Teflon sheet included but these are not essential. They can help to keep the upper platen clean by protecting it from any excess ink. If ink builds up on the platen, it can be very difficult to clean off and it can affect any future pressings you may do.
Parchment Paper
This can be used for opaque transfers or as an alternative to Teflon sheets to protect the plates. This paper is ideal as it is designed to handle high temperatures.
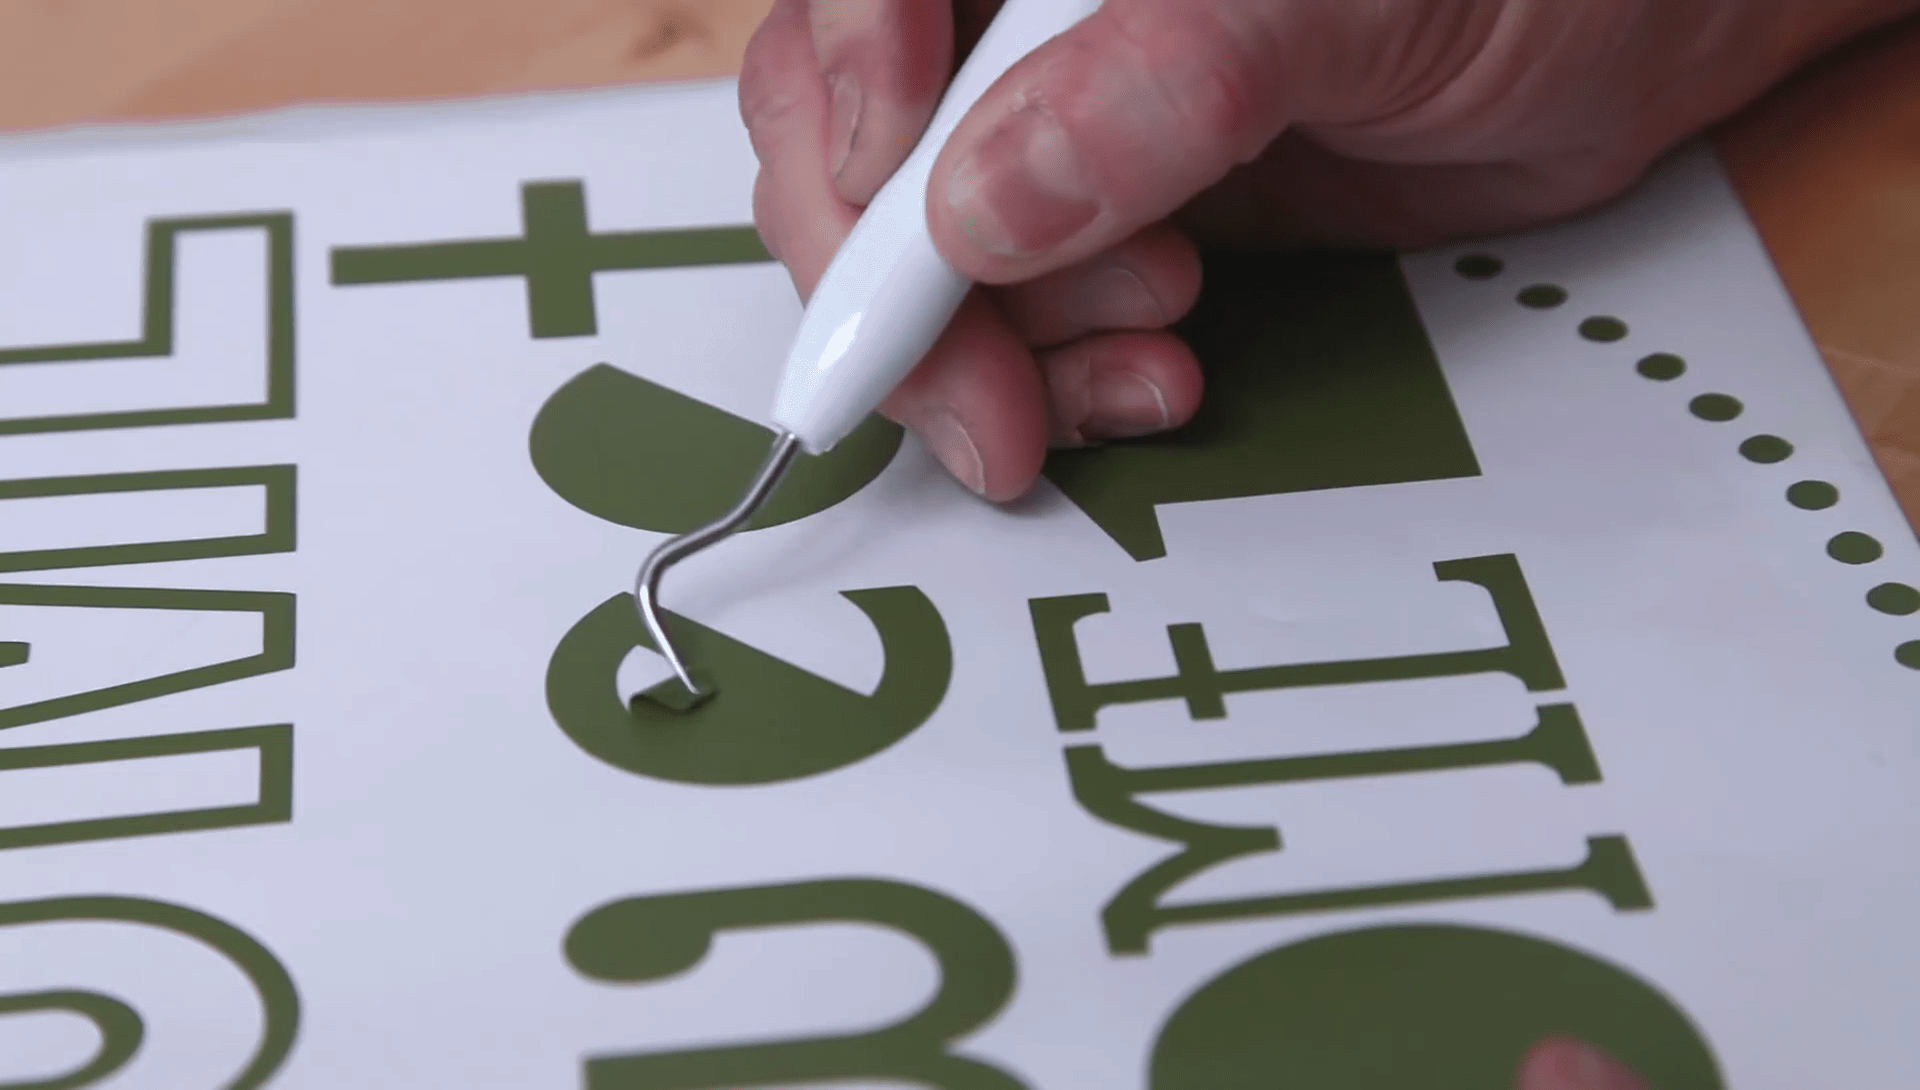
Xacto Knife
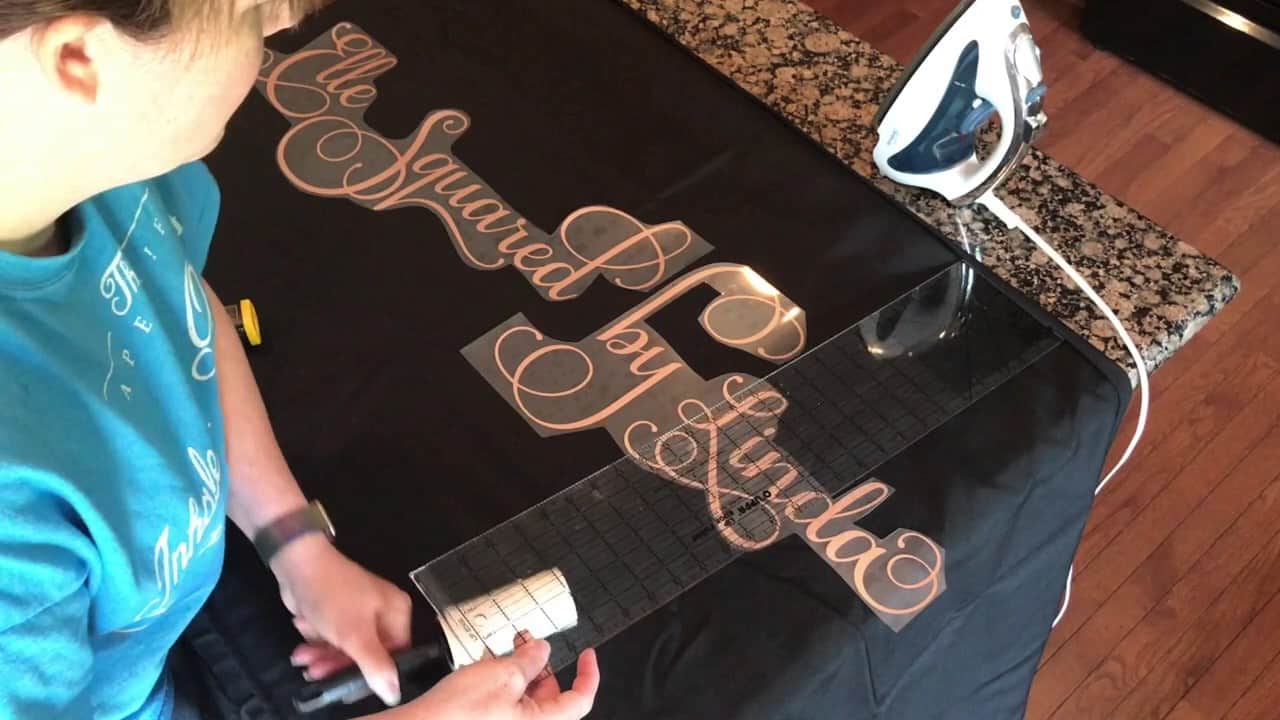
Trimming the edges of the transfer can make it easier to line up, so trimming round the edges will help you place it. You don’t need to trim it closely, just enough to show the shape of the design. Xacto knives can give you good control over where you cut.
Alignment Tool
To make sure that you line each design up perfectly, you can use an alignment tool such as Tee Square It. This is in the shape of a T-square, with measurements down each side. You can align one edge with the end of the fabric, allowing you to place your transfer perfectly every time.
Computer and Printer
In order to get your design onto your transfer paper, you will need a computer and printer. If you already have these you will not need to buy new ones, as you don’t need a high specification. An inkjet printer will work well with your transfer paper, but always check this before you print.
If you need designs to print you can get 5 premium designs from Tee.design by clicking here
Operate Your Heat Press
While heat presses come in different styles, the controls to operate them are largely the same. To get the best results from your heat press you must follow the right steps and pay attention to the instructions included with the press and the transfer paper which you are using.
On most heat presses there are just two or three settings to adjust: temperature, time and pressure. Let’s take a look at how to set each of these and how to use a heat press.
Check out this great tutorial below on how to use your heat press machine..
https://www.youtube.com/watch?v=aHnWkyiwL84
Temperature
Once you have your heat press plugged in and turned on, set the thermostat to the desired temperature. The temperature on a press can range from 0 up to 480 Fahrenheit or 250 Celsius. Setting the temperature too low may mean that the transfer doesn’t adhere properly to the fabric. Similarly setting it to high can damage the fabric itself.
Heat presses should all have a guide so you know the correct temperature to use for each type of fabric. The heat transfer paper may also have its own guide. If you keep to the guidelines provided, you’re less likely to go wrong.
When you first use a heat press, the high temperature can cause concern and the temptation is to lower it to play safe. If you do this, you will find that it simply isn’t pressing properly. If you trust the guidelines, you will have far better results and you will soon get the confidence to work at high temperatures.
Heat presses make it very easy to control the temperature. They either have a control knob which you turn to the right temperature or they have a digital display. This uses up and down arrows to set the temperature, which is shown in an LED display.
One thing to be aware of is that heat presses can take between 10 to 20 minutes for the temperature to be reached, so allow plenty of time and don’t try to rush. If you start pressing too soon you won’t get the result you want.
Depending on your choice of heat press, once the temperature has been reached it will beep to let you know it’s ready, or a red light will turn on or off. The instructions in your heat press will let you know how it will notify you. When it is hot enough, the heating light will continue to go on and off. This is perfectly normal and nothing to worry about. It simply means the thermostat is doing its job at keeping the temperature steady.
Time
The great thing about a heat press is that you don’t have to time anything. They all come with a timer which you set and it will let you know when the pressing time has ended.
As with the temperature, setting the wrong time can have a negative effect on the result. Too little time and the transfer won’t seal, while too much time can ruin the fabric. If you’re pressing the same items then you just need to remember the time, and as you get more experienced you can experiment as well.
The time is set in the same way as the temperature. There will either be a knob to turn, or a digital display with up and down arrows. When the time has elapsed it will beep to let you know.
Pressure
If you press the same items, you may not need to alter the pressure at all. If you create different items such as baseball caps, bags and t-shirts, you may need to alter the pressure as these are all different thicknesses. The pressure comes from the handle when it is locked in place, and there is often a knob on the handle which allows you to alter the pressure.
There are no set guidelines when it comes to using the right pressure, so you may need to experiment to get it right. The lower the number, the less the pressure, so for heavy materials you will mostly need higher pressure. If you use too much pressure, the transfer will push the colours too deeply in to the fabric so that they are less vibrant. If the pressure is too low, then the transfer may not be able to stick properly.
Some plates also do not provide even pressure, so some areas of the fabric may get less than other areas. One simple way to test this is to put a card or business card in each corner of the plate. Press down and fix the handle in place and then see if you can remove any of the cards. If it’s easier to pull some out than others, then the pressure is not evenly spread.
Prepare Your Item
Once you have established the correct settings, turn on the press to warm up. While it’s heating, you can then prepare and check your item for pressing.
Looking for T-shirt designs? Get 5 for free from Tee.design
If you’re pressing on t-shirts or fabrics, then you must wash, dry and press it before you start. This not only removes any dirt and dust but gives you a crinkle free surface to print on. Any dirt or wrinkles will mean that your transfer won’t stick how you want it to. You can use the heat press to give you fabric a quick press to flatten it before you press on to it as well. Just give it a few seconds before you place the transfer.
Lay out your design on a workbench and place the transfer where you want it to be. It can help if you roughly trim around the edges of your design. Doing this away from the heat press allows you to move it around to make sure you place it exactly where you want it.
Press Your Item
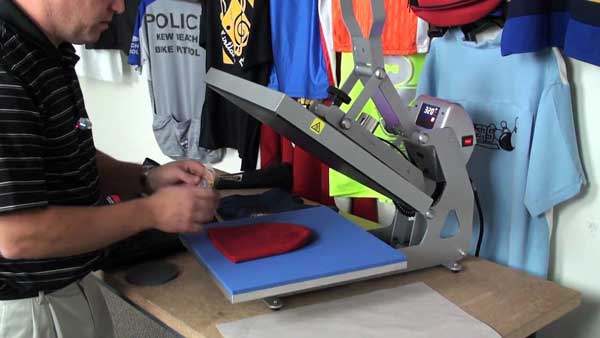
When the press is ready and you are happy with your layout, open up the heat press. Taking great care not to touch the heated top plate, lay out your fabric on the lower plate. Take the time to make sure that it is flat and that the area to be printed on is in the right place.
Then place your transfer on top, facing down. If you have a swinger heat press, slide the plates together, being careful not to dislodge either the fabric or the transfer. With the timer set, pull the handle to close the lid and click it in to place. If the handle is not clicked tightly, then the pressure will not be right.
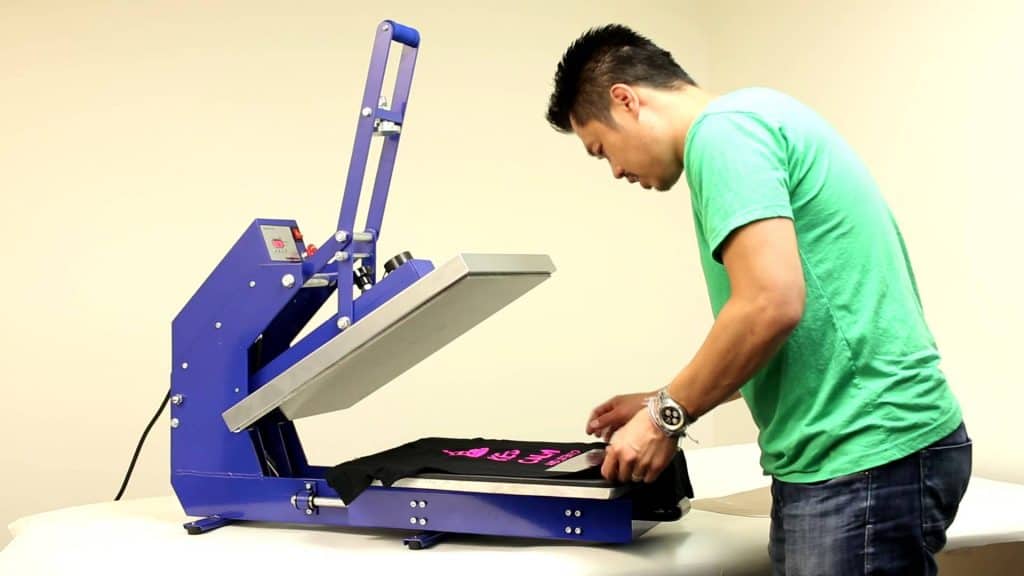
When the heat press beeps to let you know it’s ready, open it up. Carefully start to pull the transfer away from the fabric. If it starts to pull then it has not stuck properly, so close the lid and give it a little more time. The transfer should pull away easily, leaving all of the pattern on the fabric.
Remove your item and the press is ready for the next one. Don’t wash your item for at least 24 hours, as it can take this long for the colours to lock firmly in place.
It’s a good idea to do a test press first so you can adjust any settings before you print for real. Either use an old t-shirt or piece of paper so that you can check for any design faults in your pattern.
As you get more experienced with how to use a heat press, you can start to work on different items. These can be personalised family gifts or items to sell for a business. Just some of the things you can use your heat press for are:
- Family t-shirts, t-shirts or sweatshirts for a sports team, or even for selling your own original range of t-shirts.
- Household linen can be created for the home or to sell. You can use your heat press for cushion covers, pillow cases and tea towels.
- With the right heat press and the right materials you can create your own mouse mats.
- Purses, bags and make up bags can give you an original idea to start your own small business.
- School caps or caps for sports teams can be printed on as well.
- You can even print on to mugs, but it’s best to check your heat press first. If you plan to do this, it may be worth investing in a special mug heat press.
When you first start using a heat press, you should always follow the guidelines which come with the press and the transfer paper. As you get more experienced you can practice pressing on to other items and expand your business in many ways.
The basics of a heat press are easy to learn, but you still need to practice as there will always be variations. Just remember always to press on to a clean, flat surface and your transfer will stand a better chance of looking just as good as you want it to. If you think you’re ready to delve into the world of heat pressing and want to find the best heat press for the money, feel free to continue browsing the site and check out our reviews.
100% free download: 5 premium T-shirt designs from Tee.design