Making vinyl decals is a great way to brighten up the home or even run a small business. The best thing is that you don’t need lots of expensive equipment to get started. In fact you’ll probably already have most of what you need.
Apart from a flair for design, you don’t need to be an artist to make your own decals. Vinyl decals can be used almost anywhere, so let’s find out what you need to do.

The Equipment You Need
While you do need some specialist equipment to make vinyl decals, you don’t have to spend a lot of money to get started.
You can use a hobby room to make your decals, as long as you have a good sized workbench with a flat surface.
1. Vinyl
The most important thing you need is your vinyl. If you’ve not worked with it before, you may need a couple of practice attempts to find the right one.
Vinyl comes in rolls, and while you can get different colors, it’s a good idea to start with just one.
When purchasing your vinyl, there are a couple of things you need to check first.
- Indoors or outdoors? Not all vinyls are suitable for outdoor use, so if you’re planning to make something that goes outside, make sure you choose the outdoor vinyl. All vinyls will last a few years, but vinyl which is designed for outdoor use can last 6 years or more in any weather conditions.
- Are you using a cutting machine? If you are, make sure that the width of the vinyl is the right size for your machine.
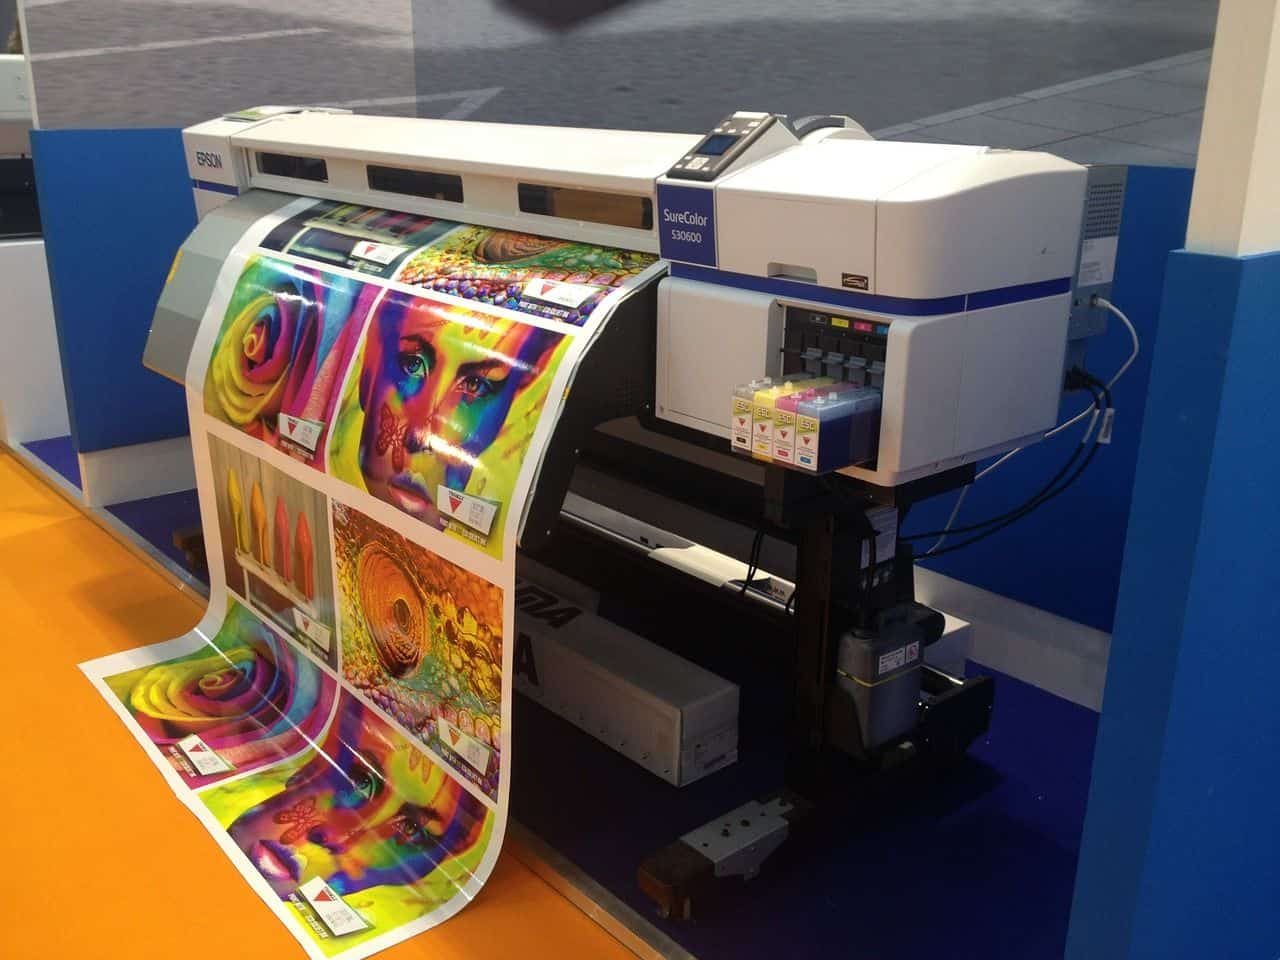
2. A Computer and Printer
Most homes will have a computer or a laptop, and you don’t need a high specification one to create vinyl decals. You will need this to create your designs and send them to a printer. Again, you don’t need a special printer so if you have and ink jet one at home, you can use that.
If you have an iPod or tablet you can design on those, but you may prefer a bigger screen to make sure your designs are perfect.
3. Scanner
Whether you need a scanner or not will depend on how you create your design. If you hand draw them, then you will need to load them in to your software to edit them, and for this you will need a scanner.
If you use the software to create your designs, then you won’t need a scanner.
4. Image editing software
To edit and create your designs you will need image editing software. Some computers come with free graphics software and may also have royalty free images to help you get started. If you’re serious about making vinyl decals, you may prefer to invest in some good software, such as Adobe Illustrator or CorelDraw.
If you are using a vinyl cutting machine, you should check the format of the image you need. Some cutting machines use Vector images, and not all graphics software can create these. Both CorelDraw and Illustrator do include this image format. Some newer cutting machines can accept images in other formats as well.
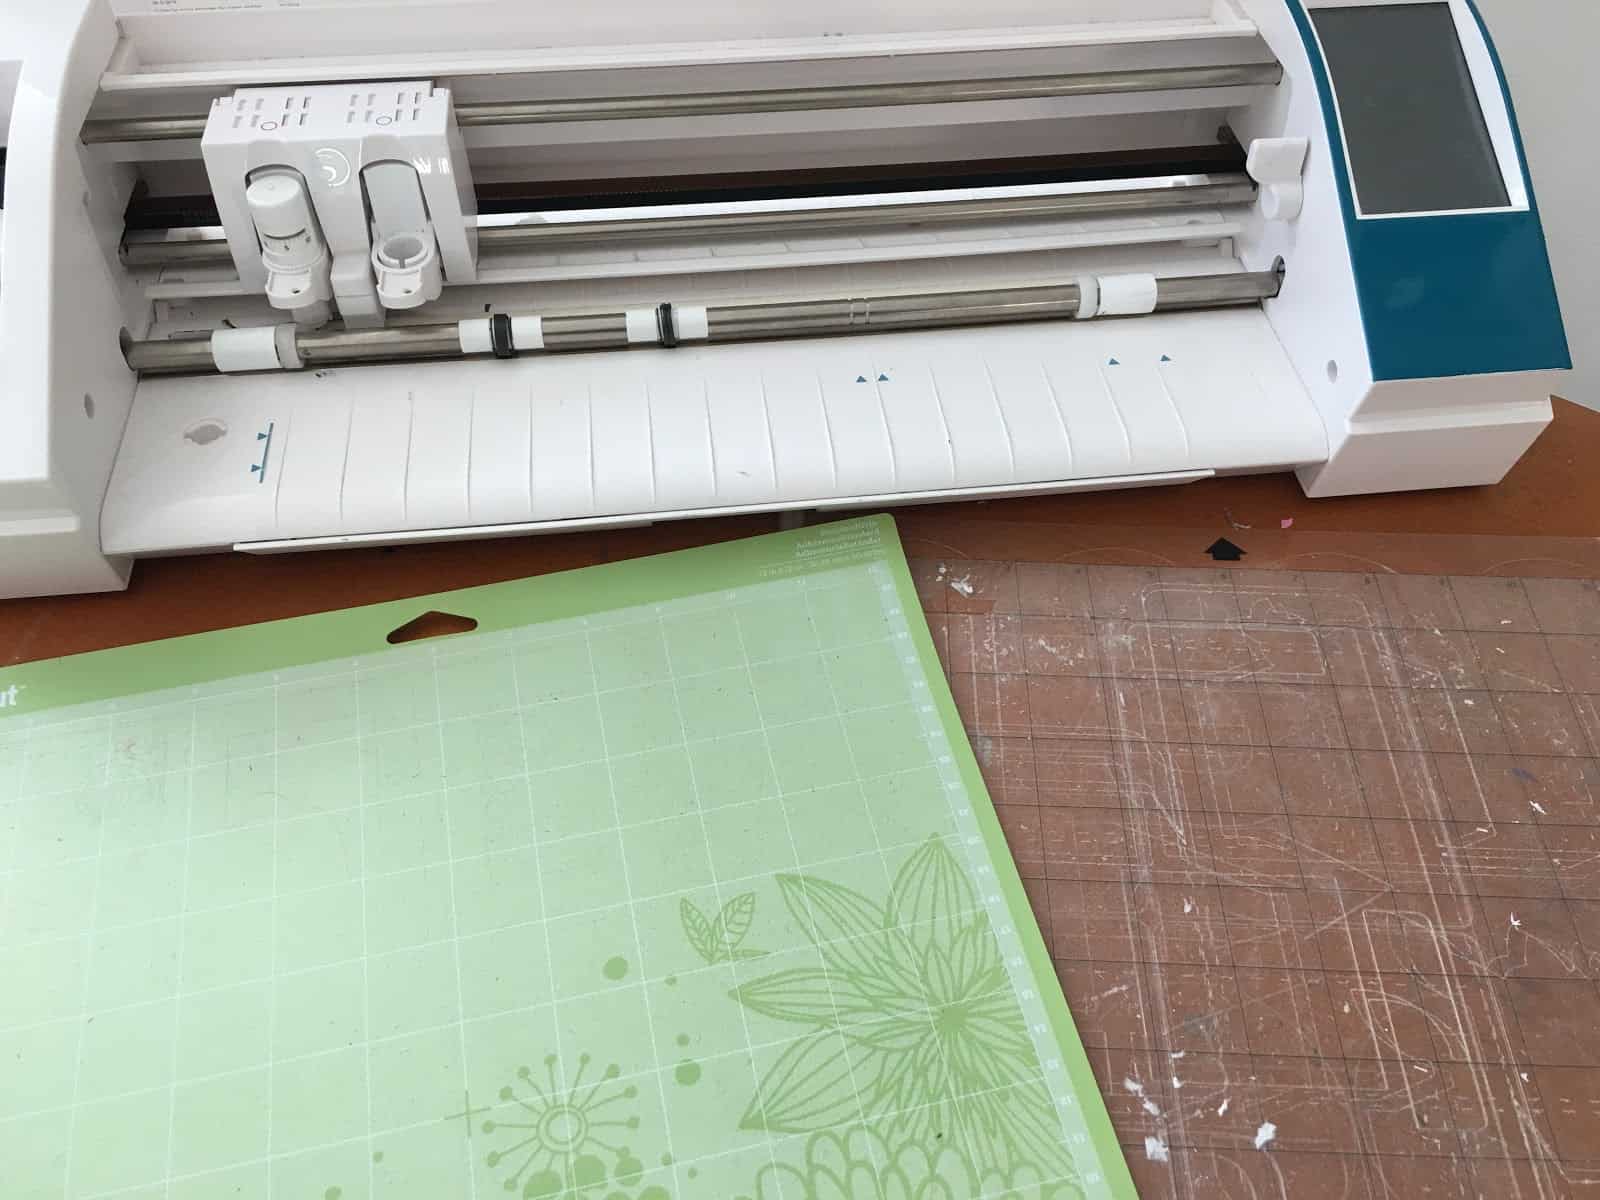
5. A cutter
If you want to, you can cut your designs by hand. This will need a steady hand, particularly on smaller graphics, but you can do it if you use the right hobby knives.
If you plan to make a lot of decals, you may prefer to get a vinyl cutting machine. Instead of sending your image to the printer, you send it to the vinyl cutter. This will then print out the outline of your image.
6. Craft or Xacto knives
When you have your cut vinyl, you may find that some corners aren’t cut cleanly or the middle of the image hasn’t been cut out. For this you need a sharp knife, such as a Xacto knife, to carefully cut away the excess vinyl.
7. Transfer tape
This is used to stick your designs when they are ready. You must use the right tape or you can ruin your designs.
Before we move on to creating vinyl decal’s, here’s a useful video tutorial I think will really help you, enjoy!
Creating your vinyl
Now that you have all the right equipment, creating your vinyl is actually quite easy. Here are the steps you need to follow.
- Create your design. You can draw it or create it using your image editing software.
- Print it. If you are cutting by hand you will need to print it out on to the vinyl. Load the vinyl so it prints on the matte side.
- Cut it. If cutting by hand, cut from the back. If you have a vinyl cutter, send your image to the cutter and it will do the rest.
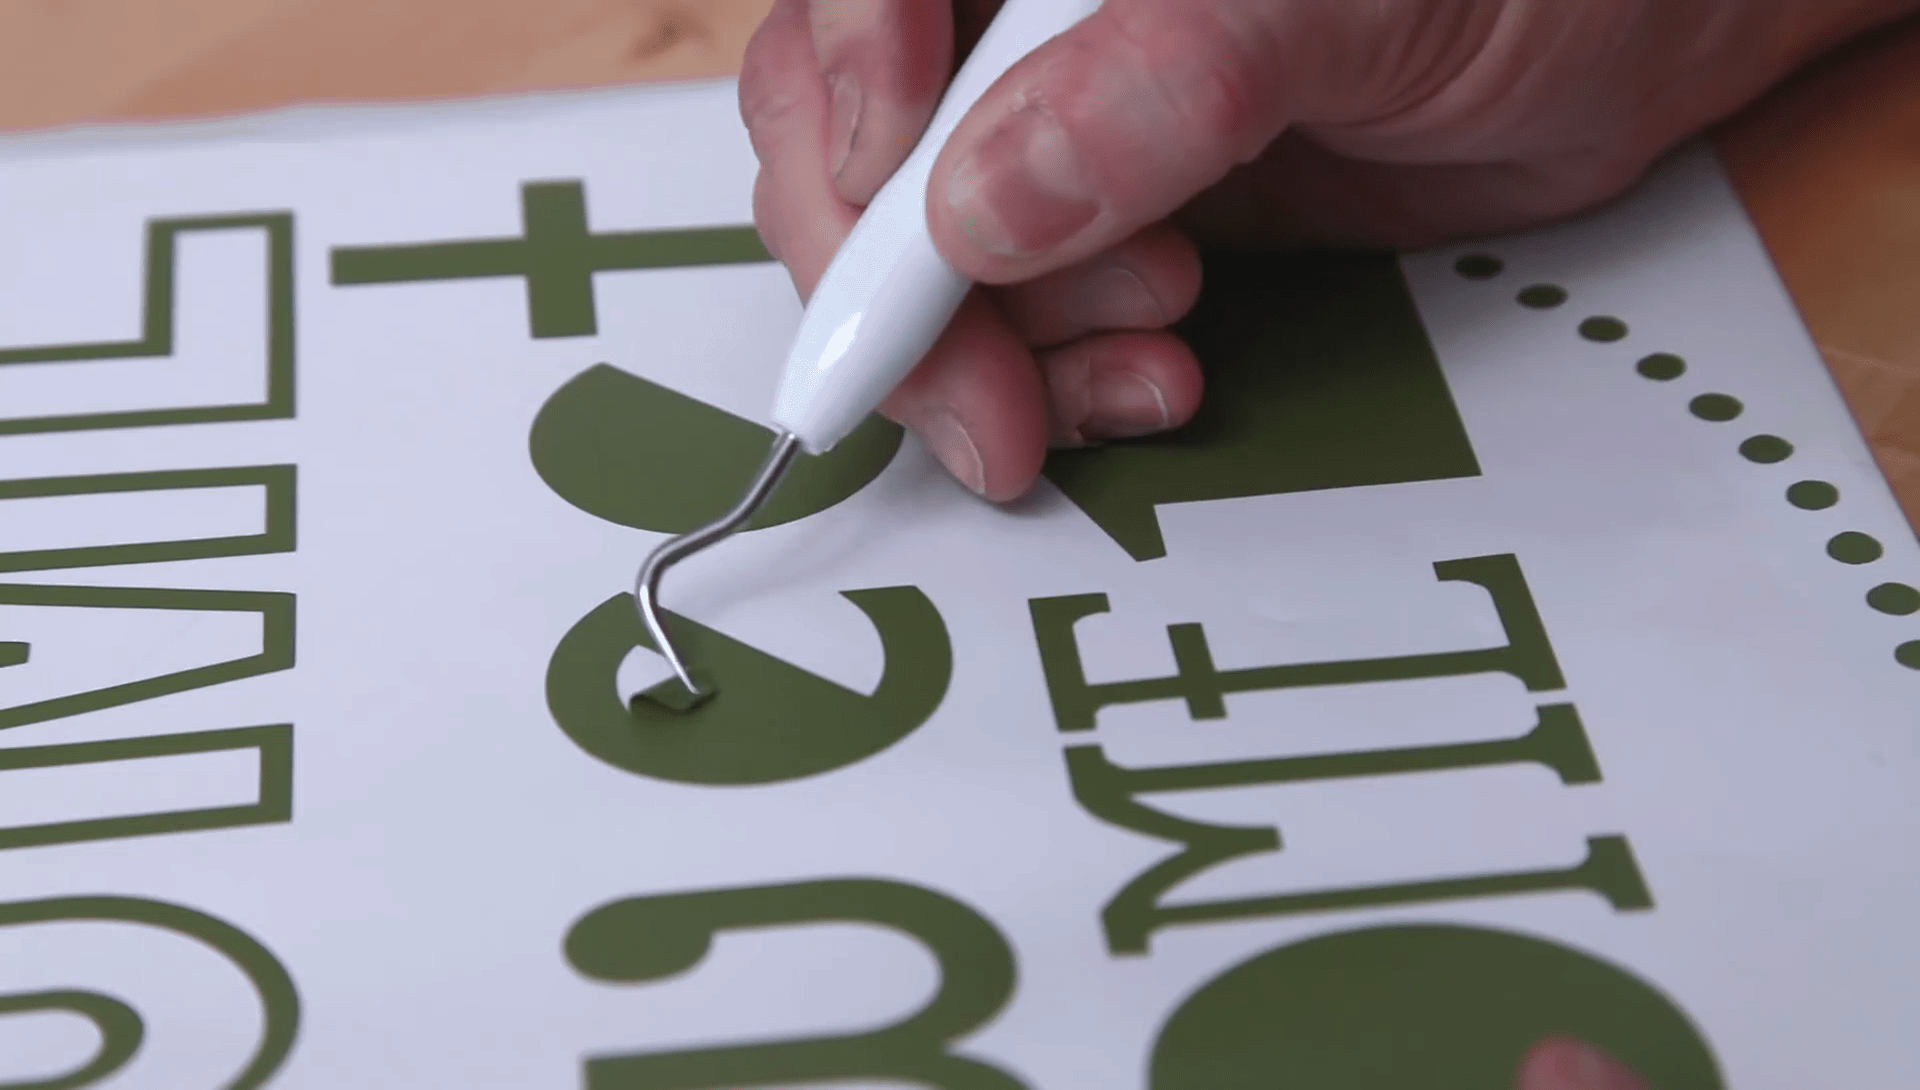
- Weed it. When you have your cut vinyl, you will need to check for any excess pieces and cut those away.
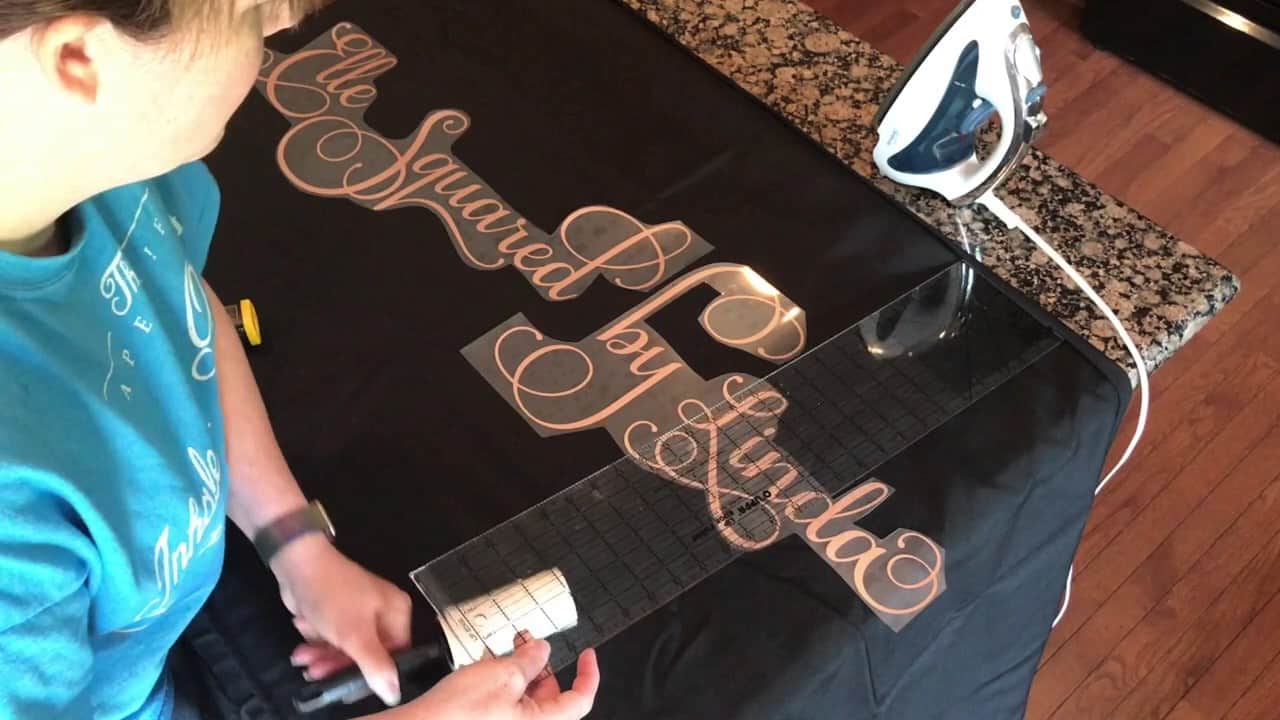
- Stick it. This is where you will use your transfer tape. Cover your vinyl design with the transfer tape, making sure to remove all air bubbles. Make sure the surface you are sticking it on to is clean and dry, and then press your vinyl on, working from the center out. When the vinyl is firmly in place you can slowly pull off the transfer paper. Your design should stay in place.
Where you can use vinyl decals
The great thing about vinyl decals, is that they can be used almost everywhere. Here are just a few ideas
- Car decals. These can be to add a design to a car or a business logo.
- You can turn your decals in to stickers which can be used by children to decorate their rooms, or for businesses to advertise their services.
- You can decorate your own windows at home, or create window stickers with company information on them.
- Vinyl decals make great house signs
- Home decoration. You can give your home a new look with vinyl decals on the windows, mirrors, kitchen appliances and doors.
Making vinyl decals can be a fun thing to do, and you can get the whole family involved by making their favorite designs for them as well.
Need designs for your business? Get 5 free premium designs from Tee.design