Printing your own designs on to clothing is a good way to start up a business. There are many ways to do this, but screen printing is one method which is very popular.
Screen printing uses no heat, so it can be used to print on to silk shirts as easily as it can print on to t-shirts.
Learning how to screen print shirts professionally takes a bit of practice, but once you have the basics mastered, you’ll soon be experimenting with different designs. If you’ve never screen printed before, the first thing you need to do, is get the right equipment.

Screen printing equipment
Most things you can need can be bought from craft and hobby shops, and they can also be purchased online.
Space
While this isn’t strictly speaking, equipment, you will need to consider where you will set your screen printer up. Part of the process involves blocking out all light so you will need somewhere you can use as a dark room. A closet will work well, as long as it has enough space for your screens to lie flat and ideally has an electrical socket.
Screen printing machine
These are not essential, but they can make things easier for you. They provide a flat surface to work on and they have clamps to hold your screen in place while you work. Some machines have multiple clamps so you can work with a few screens at the same time – you can take a look at some reviews of our favourite screen printing machines here.
Screen
You will need to have screens which can be purchased from some craft stores or online. When you start you will only need one or two, but if you build up a selection of different shirt designs, you may need to buy new screens for each design. As you become more experienced you will get to know which screens work best with which designs and fabrics. If you want to print something with a lot of detail, it’s best to choose a screen with a high mesh count of between 230 and 355. If you’re printing lines and bolder images than a lower mesh count of 180 will suffice.
Free Download: 5 premium T-shirt designs from Tee.design
Emulsion and sensitizer
These are used to cover the screen when you create your pattern. They are mixed together and instructions are given on the bottles.
Desk lamp
To make the pattern on the screen, you will need a desk lamp with a 250 watt bulb. You will need bright light to burn the pattern on.
A squeegee
Just a normal, household squeegee which you use to transfer your design on to the shirts and spread the emulsion and sensitizer on to the screen.
Silk screen fabric ink
When you come to press your design, you will need the right ink, so it will stay on the fabric and create the colorful image you need.
Shirt
And last, but my no means least, you will need a shirt to print on. The great thing about a screen printer is that the process allows you to print on to any fabrics or materials you choose. Before you begin, use a piece of fabric to test your design, rather than waste a new shirt you were planning to sell.
When you have these essentials, you may also want to get:
- A piece of cardboard to put inside the shirt when you print. This simply sits between the front and back of the shirt, and stops the paint from the design from soaking all the way through. If you have a screen printing machine, this may have a surface you can spread the shirt over so you won’t need cardboard.
- Screen printing can be a messy process so you may want to get some latex gloves to wear while you work.
- For the same reason you may want gloves, if you plan on printing for business, you may want to get some overalls.
Now you have the basics, you now need to get the things you need to actually create and print your design.
Before we get into creating your first design, here’s a great video on how to screen print your first t shirt, this will give you an idea on what we’re discussing below.
Creating your design
First create your image
The trick to working out how to screen print shirts professionally is practicing how to create the best image. The big difference between creating a normal image and one for screen printing is that for screen printing you just need the outline. If you are looking for professional T-shirt designs, Tee.design has 5 free designs for you here.
If you plan on creating a multi colored image, you will need one outline for each color. You may need to practice a few times, but once you know what you’re doing, it will get a lot easier.
What you need:
- PC, laptop or tablet. If you already own one you can use that.
- A printer.
- Graphics software such as PhotoShop or CoreDraw
- Transparency paper
Creating your image is as easy as creating any image. You simply use your graphics software. For your first image, pick something simple with one color. The image you create should be printed in black so it can block out the light. If you print in color it may not be dark enough to burn on to the screen.
When you are happy, you need to print just the outline of the image. On PhotoShop this is ‘create a silhouette option.’ Then print it on to the transfer paper. If you are working with a multi-colored image, you will need one transfer for each color. You then need to transfer this on to your screen.
Transfer your image to your screen
How you have your image, you need to prepare your screen.
Place the screen somewhere flat, and put paper, a plastic sheet or a garbage bag between it and the surface it is on. You then mix the emulsion and sensitizer together according to the instructions on the bottle.
Pour a little of the mixture on the screen, and spread the mixture evenly over the screen with the squeegee. You need a thin, even layer which is slightly larger than your image, and when you hold it up to the light there should be no gaps in it. When the screen is coated, place it in your dark room or closet until it is completely dry. This can take up to two hour.
When it is dry, the next stage in how to screen print shirts professionally is to add your transfer. Keep the screen in the dark area, and place your transparency on top so that the image is within the area of the screen which you have covered with the emulsion and sensitizer. Tape the transfer in place with masking tape.
The screen should be placed on a black cloth or board, with the screen face down. Put the 250 watt bulb in the lamp and place it approximately 1-2 feet away from the screen, with the bulb facing directly on to it. Do not let any other light in to the area and leave for about 15 minutes. This is where a closet with an electrical socket is useful.
After 15 minutes, turn off the lamp but do not allow any other light on to the screen. Carefully lift a section of the transfer. You should now see blue lines on the screen where the image has burnt on. If you can’t, turn on the lamp again and leave the screen in the dark for a few more minutes. Timing is everything, and if you leave it too long you run the risk of overexposure.
When you are happy that the image has transferred, you can remove the transfer and clean off the screen.
The screen is cleaned using water and you can do this under the shower, with a hosepipe or in the sink. Don’t worry as you see bits flaking off – this is what you want. You want to end up being able to see through the image on the screen. If you have done it right, the image should look exactly as it does on your transparency.
Leave the screen to dry completely. Once it is dry you need to prepare it so that you can start printing your shirts.
Free Gift: 5 Premium T-shirt designs from Tee.design
Print your shirts
Free Download: 5 premium T-shirt designs from Tee.design
When it is dry you need to cover any areas of the screen which have not been exposed to the light. This prevents the dye from soaking through areas of the screen which are not supposed to print and you can cover these using simple masking tape.
To print a shirt you need a perfectly flat surface. If you have bought a screen printing machine it will probably have a surface you can use. If not then use a table or desk, but make sure it is covered to protect it first. It will also help if the shirts have been washed and ironed as this removes any dirt and grease and makes sure that they will lie flat with no wrinkles.
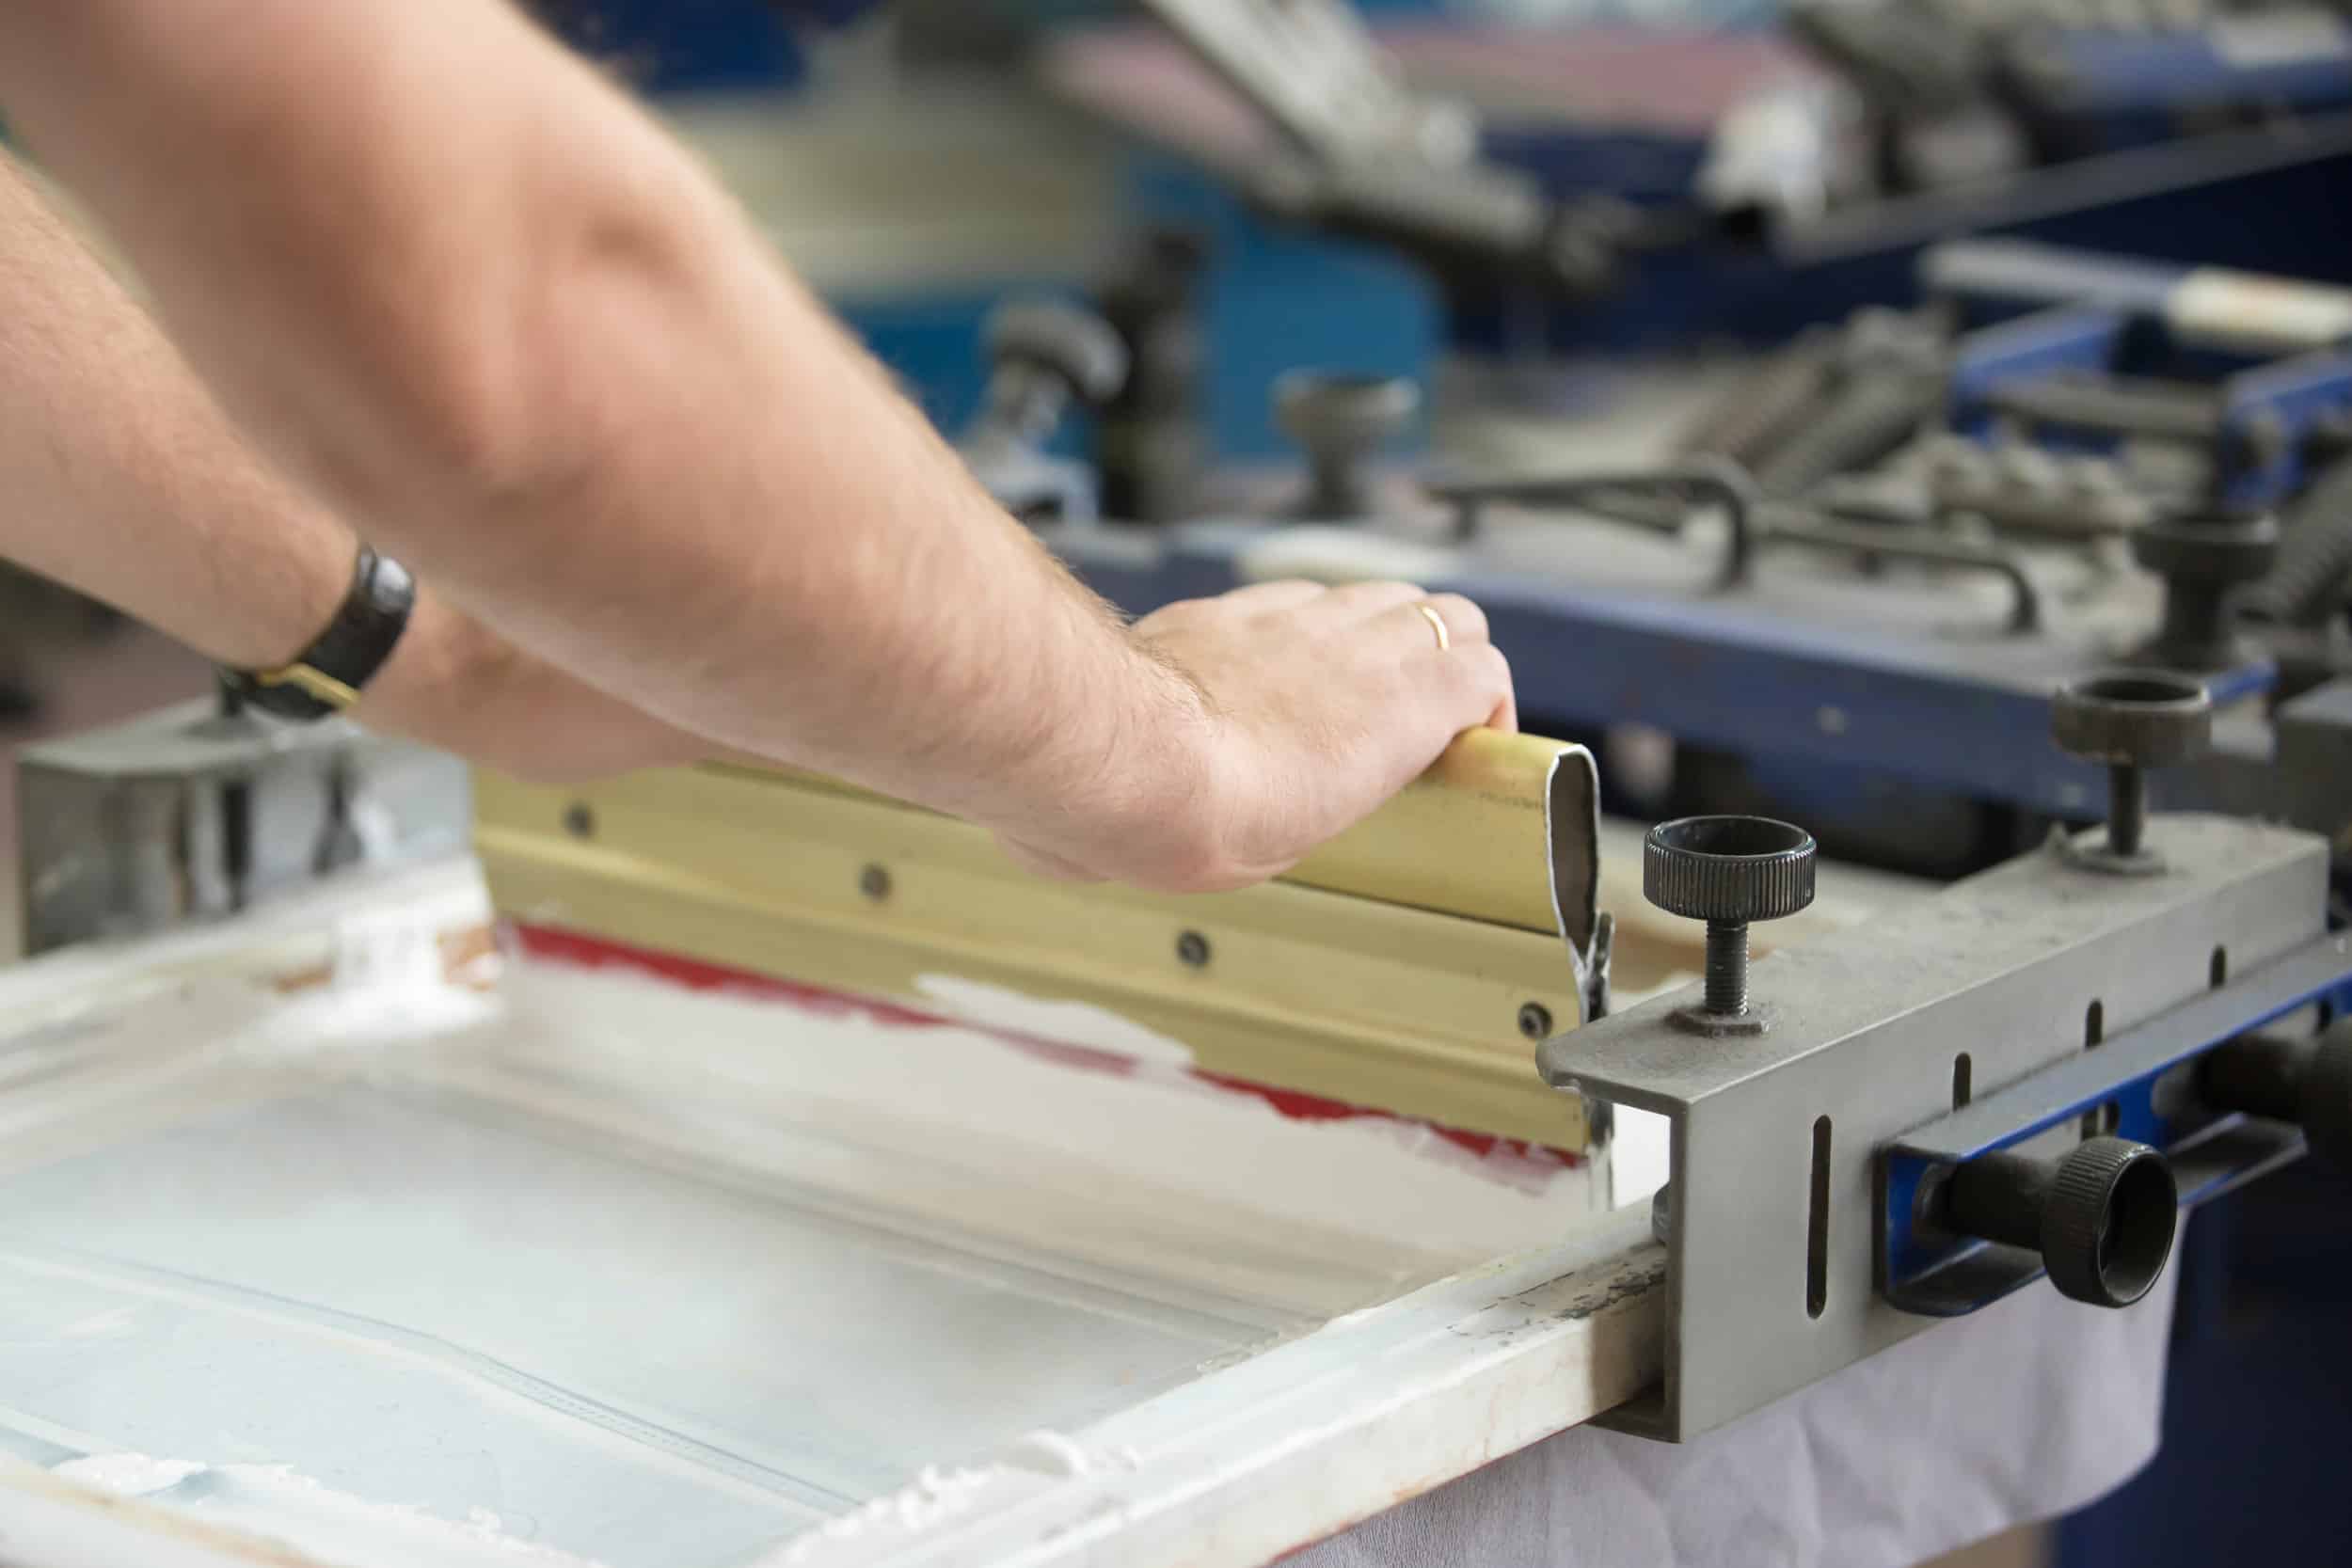
Before you print on your shirt, place a piece of cardboard in the middle to soak up any excess dye as you print. With your shirt laid out flat, place the screen face down on the shirt. Pour your ink carefully across the length of the screen and then using your squeegee press down on the screen to force the ink through the burned out section of your screen. You only need a small amount of your ink. If you use too much you run the risk of flooding the shirt with color.
Ideally, you should do this in one smooth action, but this may take a bit of practice. When you begin it’s unlikely that you will be able to maintain an even pressure as you press down, but don’t worry, it won’t take long before you’re printing cleanly and smoothly.
Don’t be afraid to move your squeegee in all directions to make sure that you spread as much ink onto the shirt as you possibly can. When you are happy that enough ink has been squeezed through, slowly lift off the screen and your image should now be clearly displayed on the shirt.
Take the cardboard out and hang the shirt up on a coat hanger and you’re ready for the next one. Screen printing inks do not take long to dry, and you can also pop them in a hot oven for a few seconds to seal the color. You can reuse a screen as many times as you like, so if you want to print multiple copies of the same design you can simply reach for the next shirt and you’re ready to go.
If you are printing a multi-colored design you need to make sure these are applied in the right order and it might be an idea to practice these before you print.
As you can see, it can take quite a while to create just one image but once your image is ready, you can print numerous shirts very quickly indeed.
If you intend to reuse your designs then you will need to invest in a number of screens so that you don’t have to repeat the process every time. If you have a business, you can keep one set of screens ready to print every design you offer.
Clean the screen
If you just want to print a limited number of each design it is possible to clean your screen so that it can be reused.
Cleaning up the screen so that it can be used for a different design is quite simple. All you need is to simply wash off any excess ink and then use a special emulsion remover to clean the area with the burnt on image. When you have finished you should have a completely blank screen which can be used with a new design.
Now that you know how to screen print shirts professionally you can start creating your own designs for your own use or for resale. If you want to use band logos or cartoon characters, it’s best to first check if there are any copyright issues and if necessary find out how much it costs to purchase a licence
One of the best things about screen printing is that you can print on anything which will absorb the ink. Once you have mastered the art of printing shirts you can move on to other clothing, including sportswear, and you can even create matching caps, purses, household linen and house signs.