If you want to create something different but stylish, why not consider working with a flocked heat transfer vinyl? These can really make your designs come alive and they are so simple so use. Embroidering your designs can be costly and time consuming, but these vinyls are quick, simple and easy to use.

What is a flocked HTV?
Flocked vinyl heat transfers work in the same way as other HTVs. You print your design and use heat to stick them to your garment.
The difference is in the texture of the surface. Where most HTVs have a smooth surface, a flocked vinyl one has an almost furry look and feels a little like soft suede. It is thicker than other vinyls and it will stand out when pressed on. This will give any project a 3D effect.
Kids will love this vinyl because it’s so soft to touch and using it on children’s clothes can be great fun.
Using a flocked heat transfer vinyl
You can use this type of heat transfer vinyl anywhere where you can use other vinyls, but be careful if using it on items which may be prone to the weather.
If you really want to add an extra dimension or create something unusual, you can use a flocked vinyl instead. They are available in a wide assortment of colours, just like other HTVs.
- You can add this HTV on top of an existing design, to create a more 3D effect, add a raised area around your design or bring your design to life.
- Embroidery can really make a design stand out and a flocked HTV is a cheaper way of adding extra life.
- If you make t-shirts or sweatshirts, a flocked pattern can give a whole new look.
- You can add numbers to sports shirts and sweatshirts to make really stylish sportswear.
- Baby and children’s clothes look so cute with a flocked vinyl addition. You can make them in to animal shapes, clouds or even add their name.
- Give your cushions a new lease of life by adding a flocked vinyl design, which also makes them soft and comfortable.
Free Download: 5 premium T-shirt designs from Tee.design
Cutting a flocked vinyl HTV
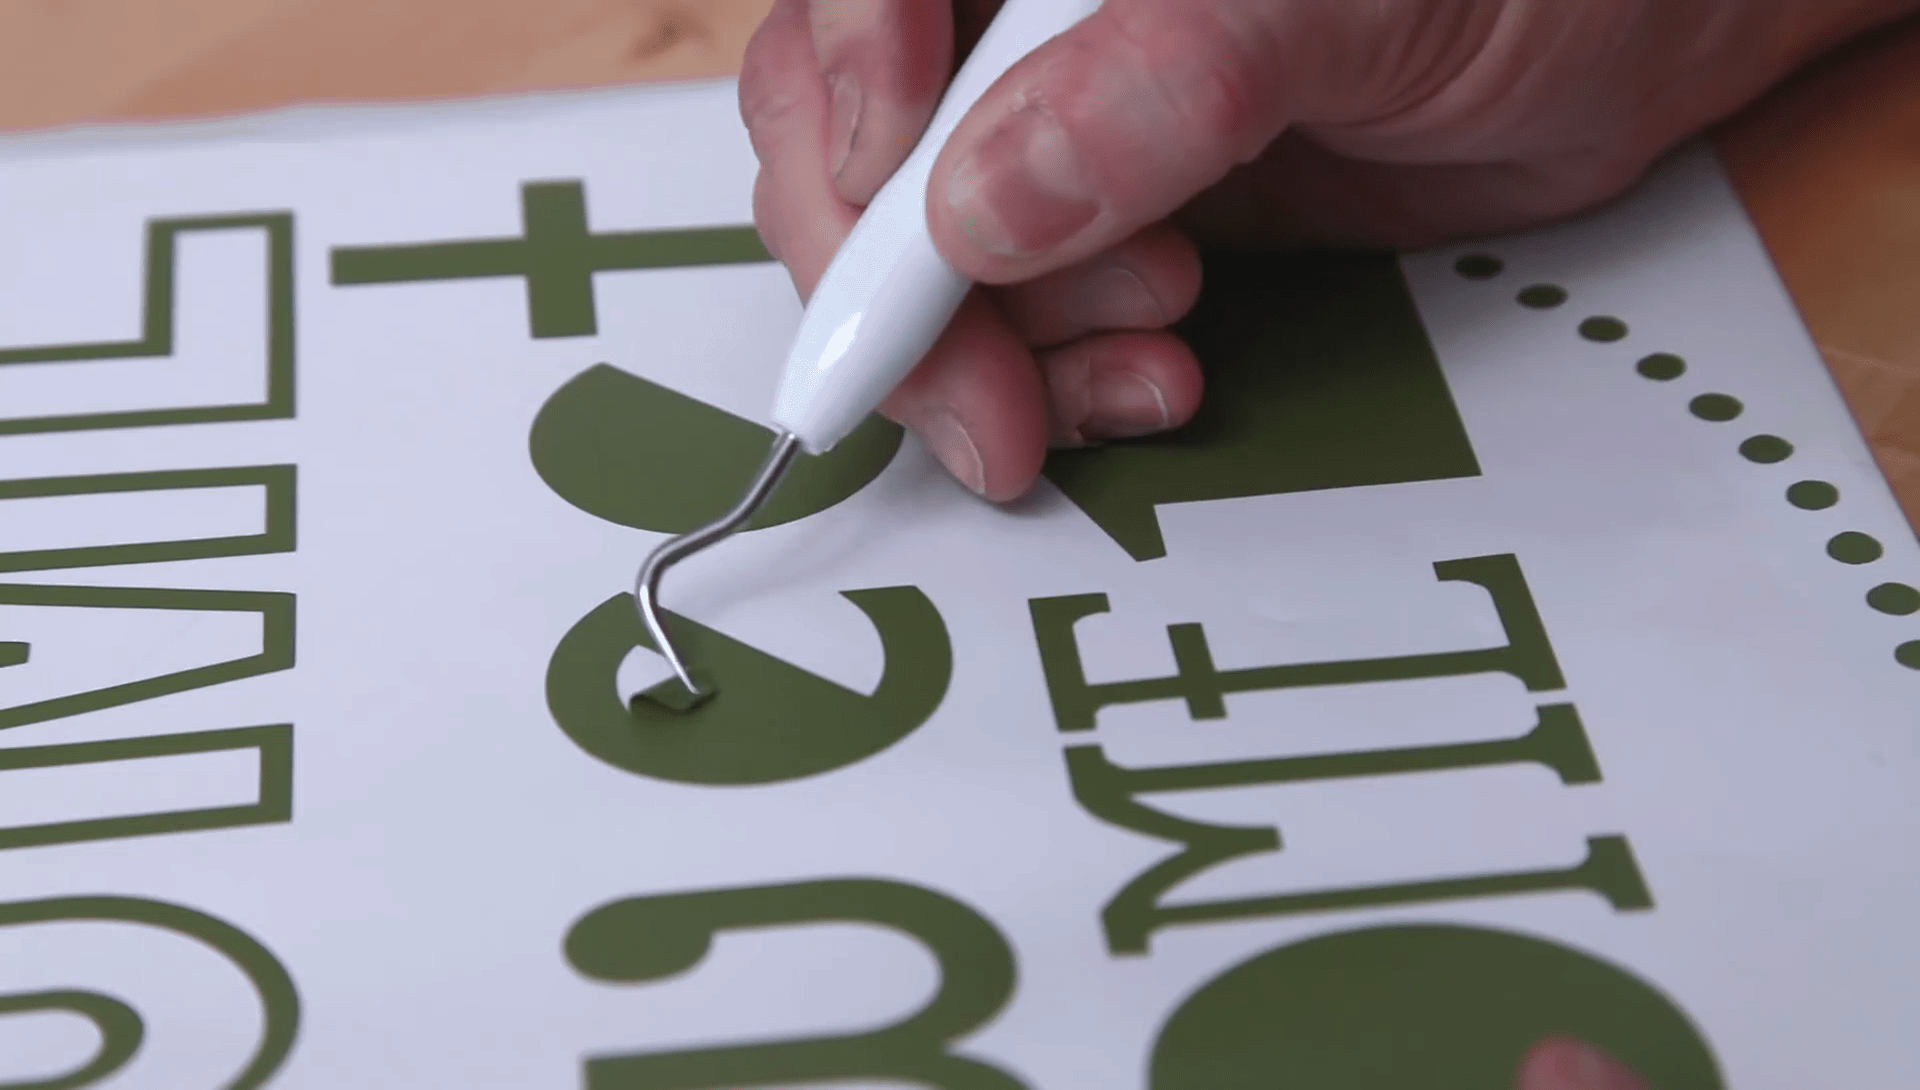
You can prepare your flocked heat transfer vinyl the same way as you prepare other vinyls.
- Create your design using your image editing software.
- The flocked vinyl will be placed face down so mirror image the design and print it out.
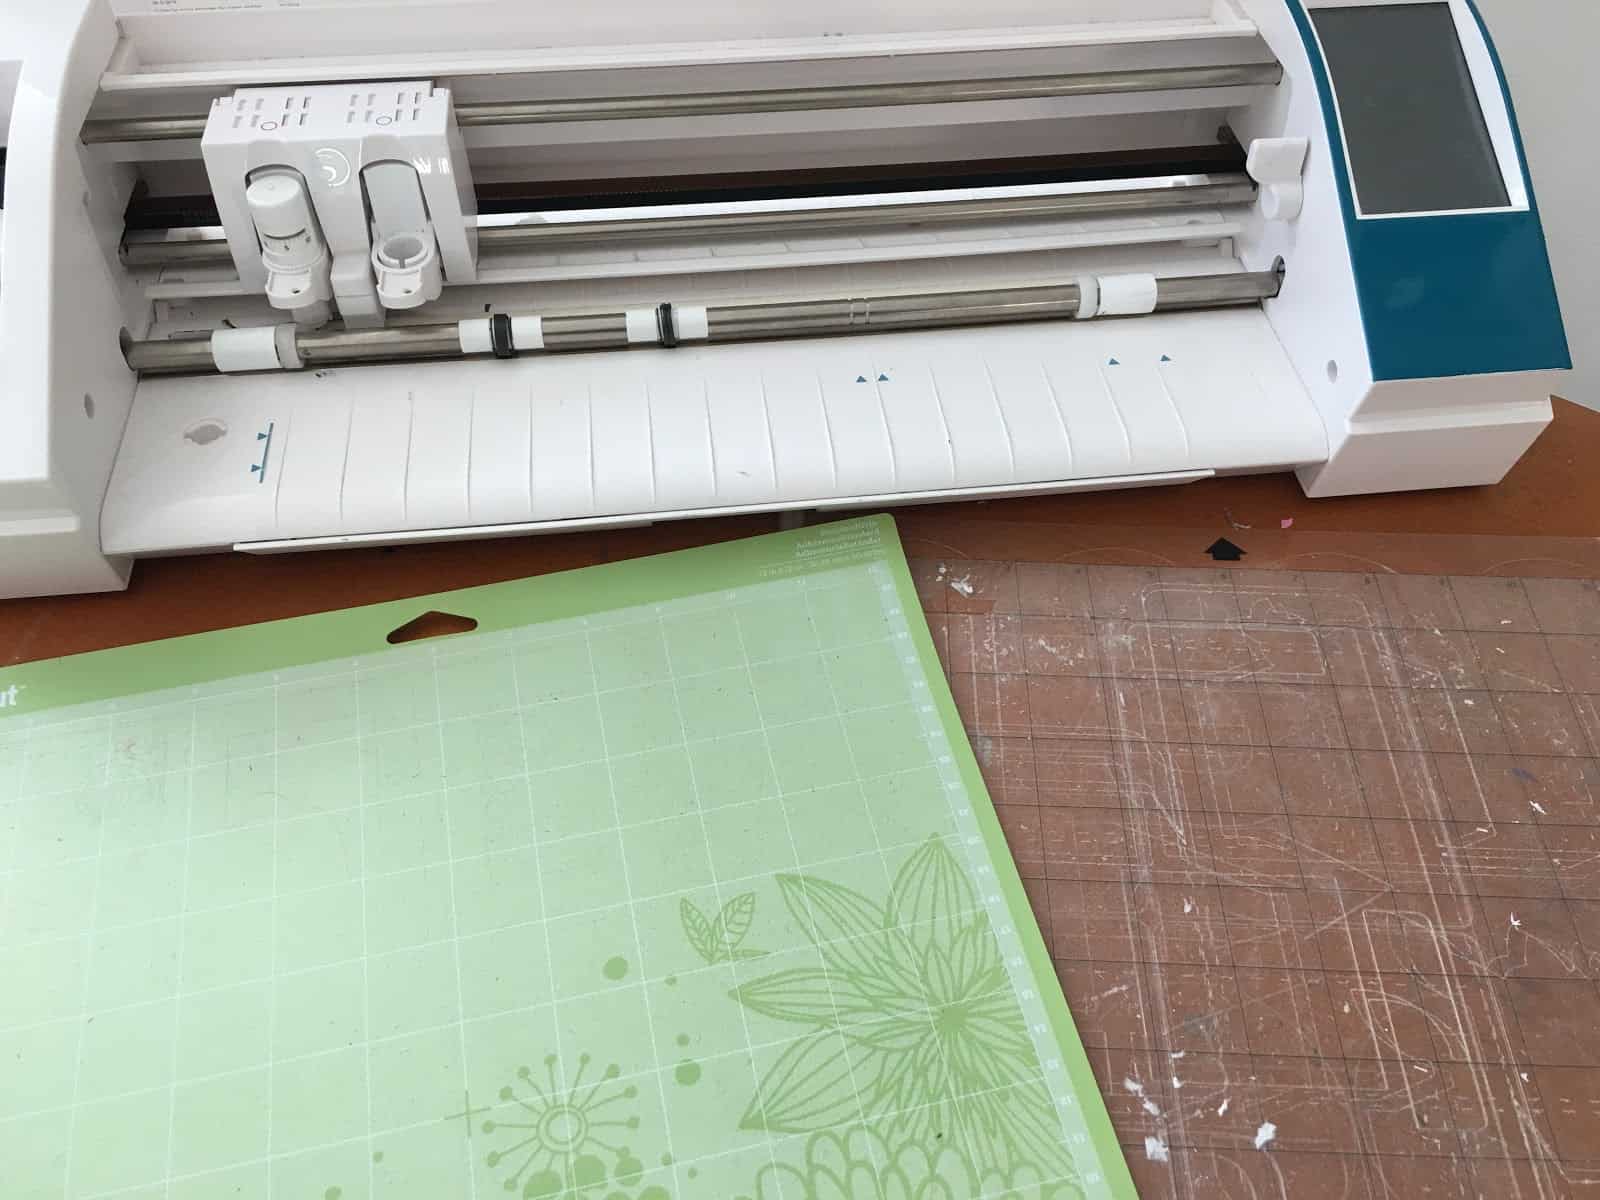
When you have your printed design, you will need to set your cutter. You need to cut flocked heat transfer vinyls slightly differently to other vinyls, to make sure the flock has a clean edge. Most cutters will have instructions which provide the settings you need for each type of vinyl. If yours does not, then here are some tips to help.
- Before you cut, check the blade. You will need a very sharp blade to cut this vinyl so if in doubt, change it for a new one.
- The depth of the blade should not be set too deep. You just need the very tip of the blade showing. You don’t need to cut right through the flock.
- You will need to make sure there is a lot of pressure on the blade and this will vary from cutter to cutter. If in doubt, test a small piece before you create your design. This gives you the chance to set your cutter up correctly without the risk of ruining a great design.
- Don’t cut too fast or you may damage the flock surface of the vinyl. Go for a slower cutting speed to get a clean cut.
Just like the video below 🙂
Apply your vinyl
Your design can be applied to any surface which other heat transfer vinyls can be applied too, but flocked HTVs are mainly used on fabrics. You can create wonderful clothes and household items using:
- Cotton and cotton blends.
- Polyester and polyester blends.
- Leather and suede.
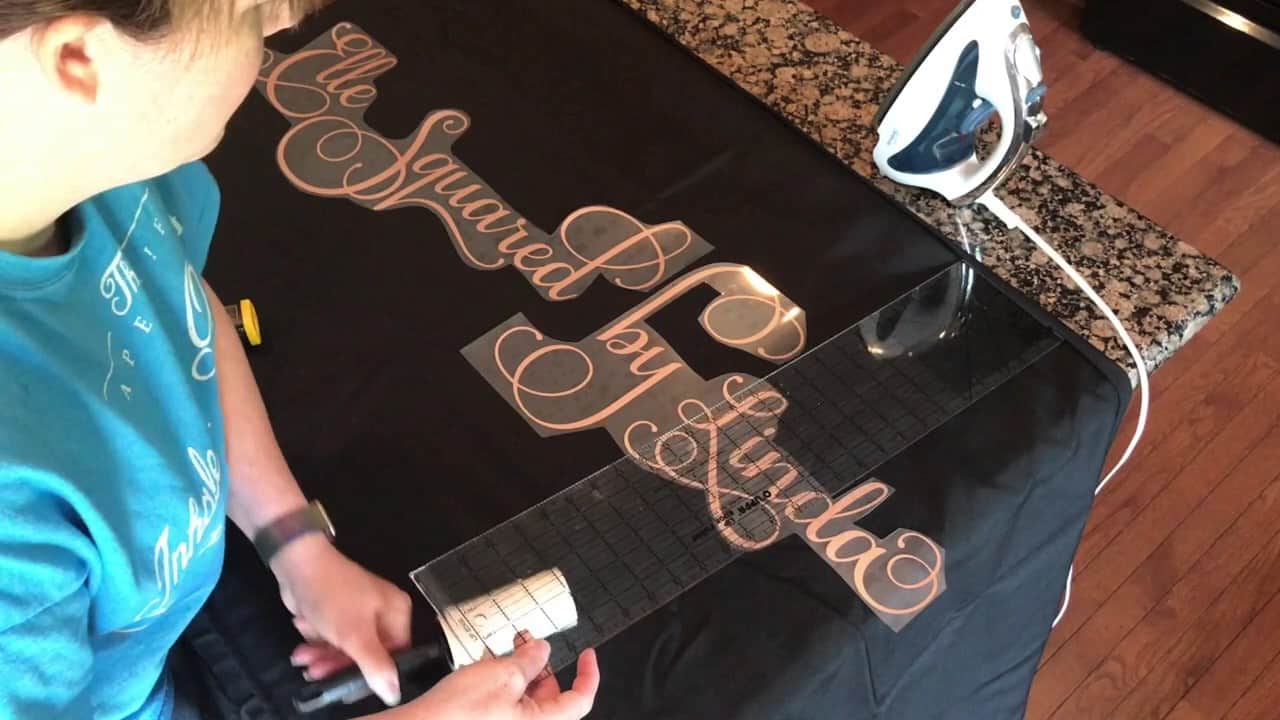
You can apply your vinyl using an iron or a heat press but be careful of pressing for too long. Here are a few tips to help you get the right result every time.
- Before you press, always wash dry and press the fabric you are working on. This removes all dust and wrinkles so that your vinyl goes on smoother.
- If ironing the vinyl on, put a sheet between the iron and the plastic backing on the vinyl. If you’re using a heat press, make sure you use your Teflon sheets. The plastic backing on the vinyl could melt and you don’t want to damage your plates or iron.
- Try pressing for a shorter time and gradually build up until you have the right time to press the vinyl. Guidelines are between 15 and 20 seconds. You need to be careful not to leave the press too long or you may damage the flock texture.
- Check the instructions on your flocked heat transfer vinyl. Unlike other vinyls, it’s often best to allow the backing sheet to cool down before you attempt to peel it off.
Once you get the hang of flocked heat transfer vinyls you’ll be able to liven up old projects and create a lot more new projects as well.
100% free download: 5 premium T-shirt designs from Tee.design